Initial Designs
Back to Main Page
Back to Wining
My first instinct for a wine rack was to build it with its true purpose hidden. I was thinking that everyone makes wine racks, but what about those folks who didn't want their guests to see thirty bottles of wine on their kitchen counter? So I drew up designs for Jelly Cabinets, Armoires, Entertainment Centers, even a working Grandfather Clock with a secret inside. But the sheer size of these cabinets made me rethink my design, even my intention. I finally settled on a smaller cabinet which could be placed on top of an existing piece of furniture or countertop.
While scanning the internet for inspiration I came across an old ice box and fell in love. The three door design, totally unbalanced, was right along with the way I like to design. I hate symmetry, where everything is in perfect proportion. I hate even more a cabinet that has perfect lines, like straight grain on every piece. I celebrate the diversity in real wood, which is why I named my company 'Taming of the Grain'. If you want all straight grain from me, you will pay extra for the waste material and the insult to the wood.
Originally I wanted to give this stout insulation, like two inches of it. As I designed, I saw this would be difficult to do and still maintain a suitable cabinet size that could hold more than a few bottles of wine. I settled on the insulation being the wood itself. The cabinet is glued tight all around and the door has a seal. This should be good enough as long as the room is not too hot or too cold. My guess is only 1% of wine buyers even own a bottle that really needs more protection.
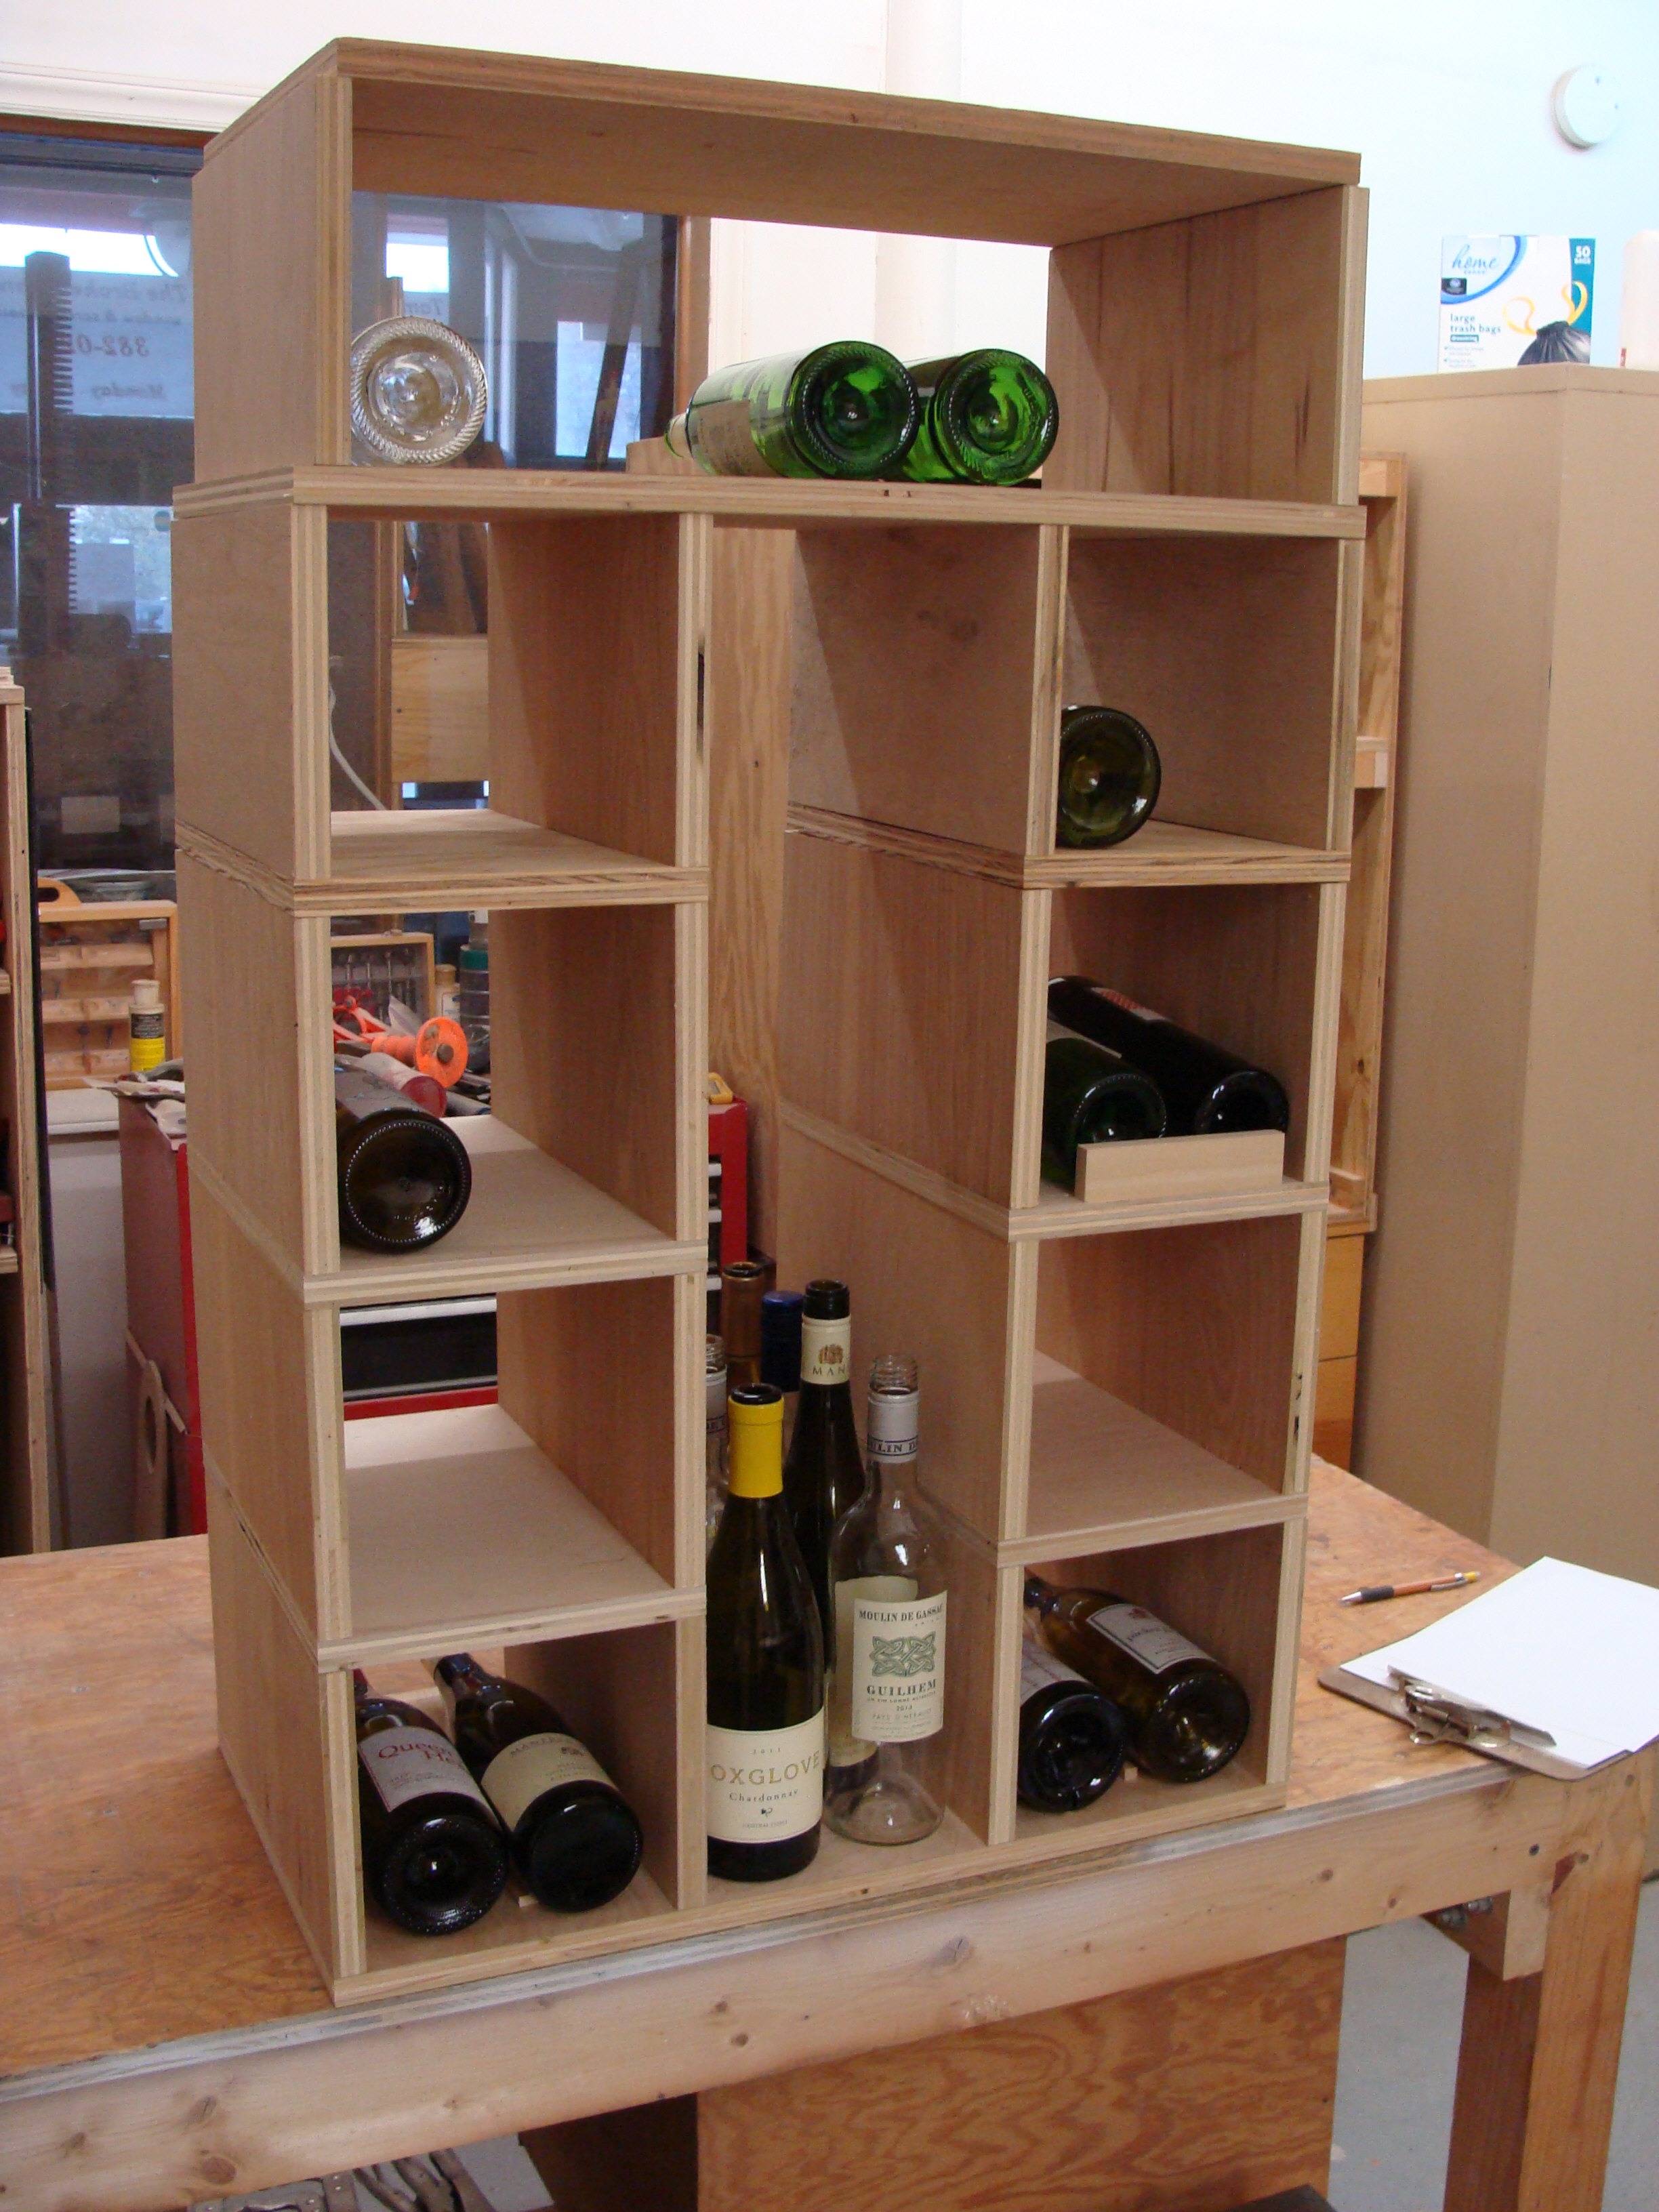
To estimate the size I needed I stacked some scrap plywood together. Originally it had the upper shelf you see here but I discarded it as too tall. And, yes, I did knock this over once with bottles in it, heh.
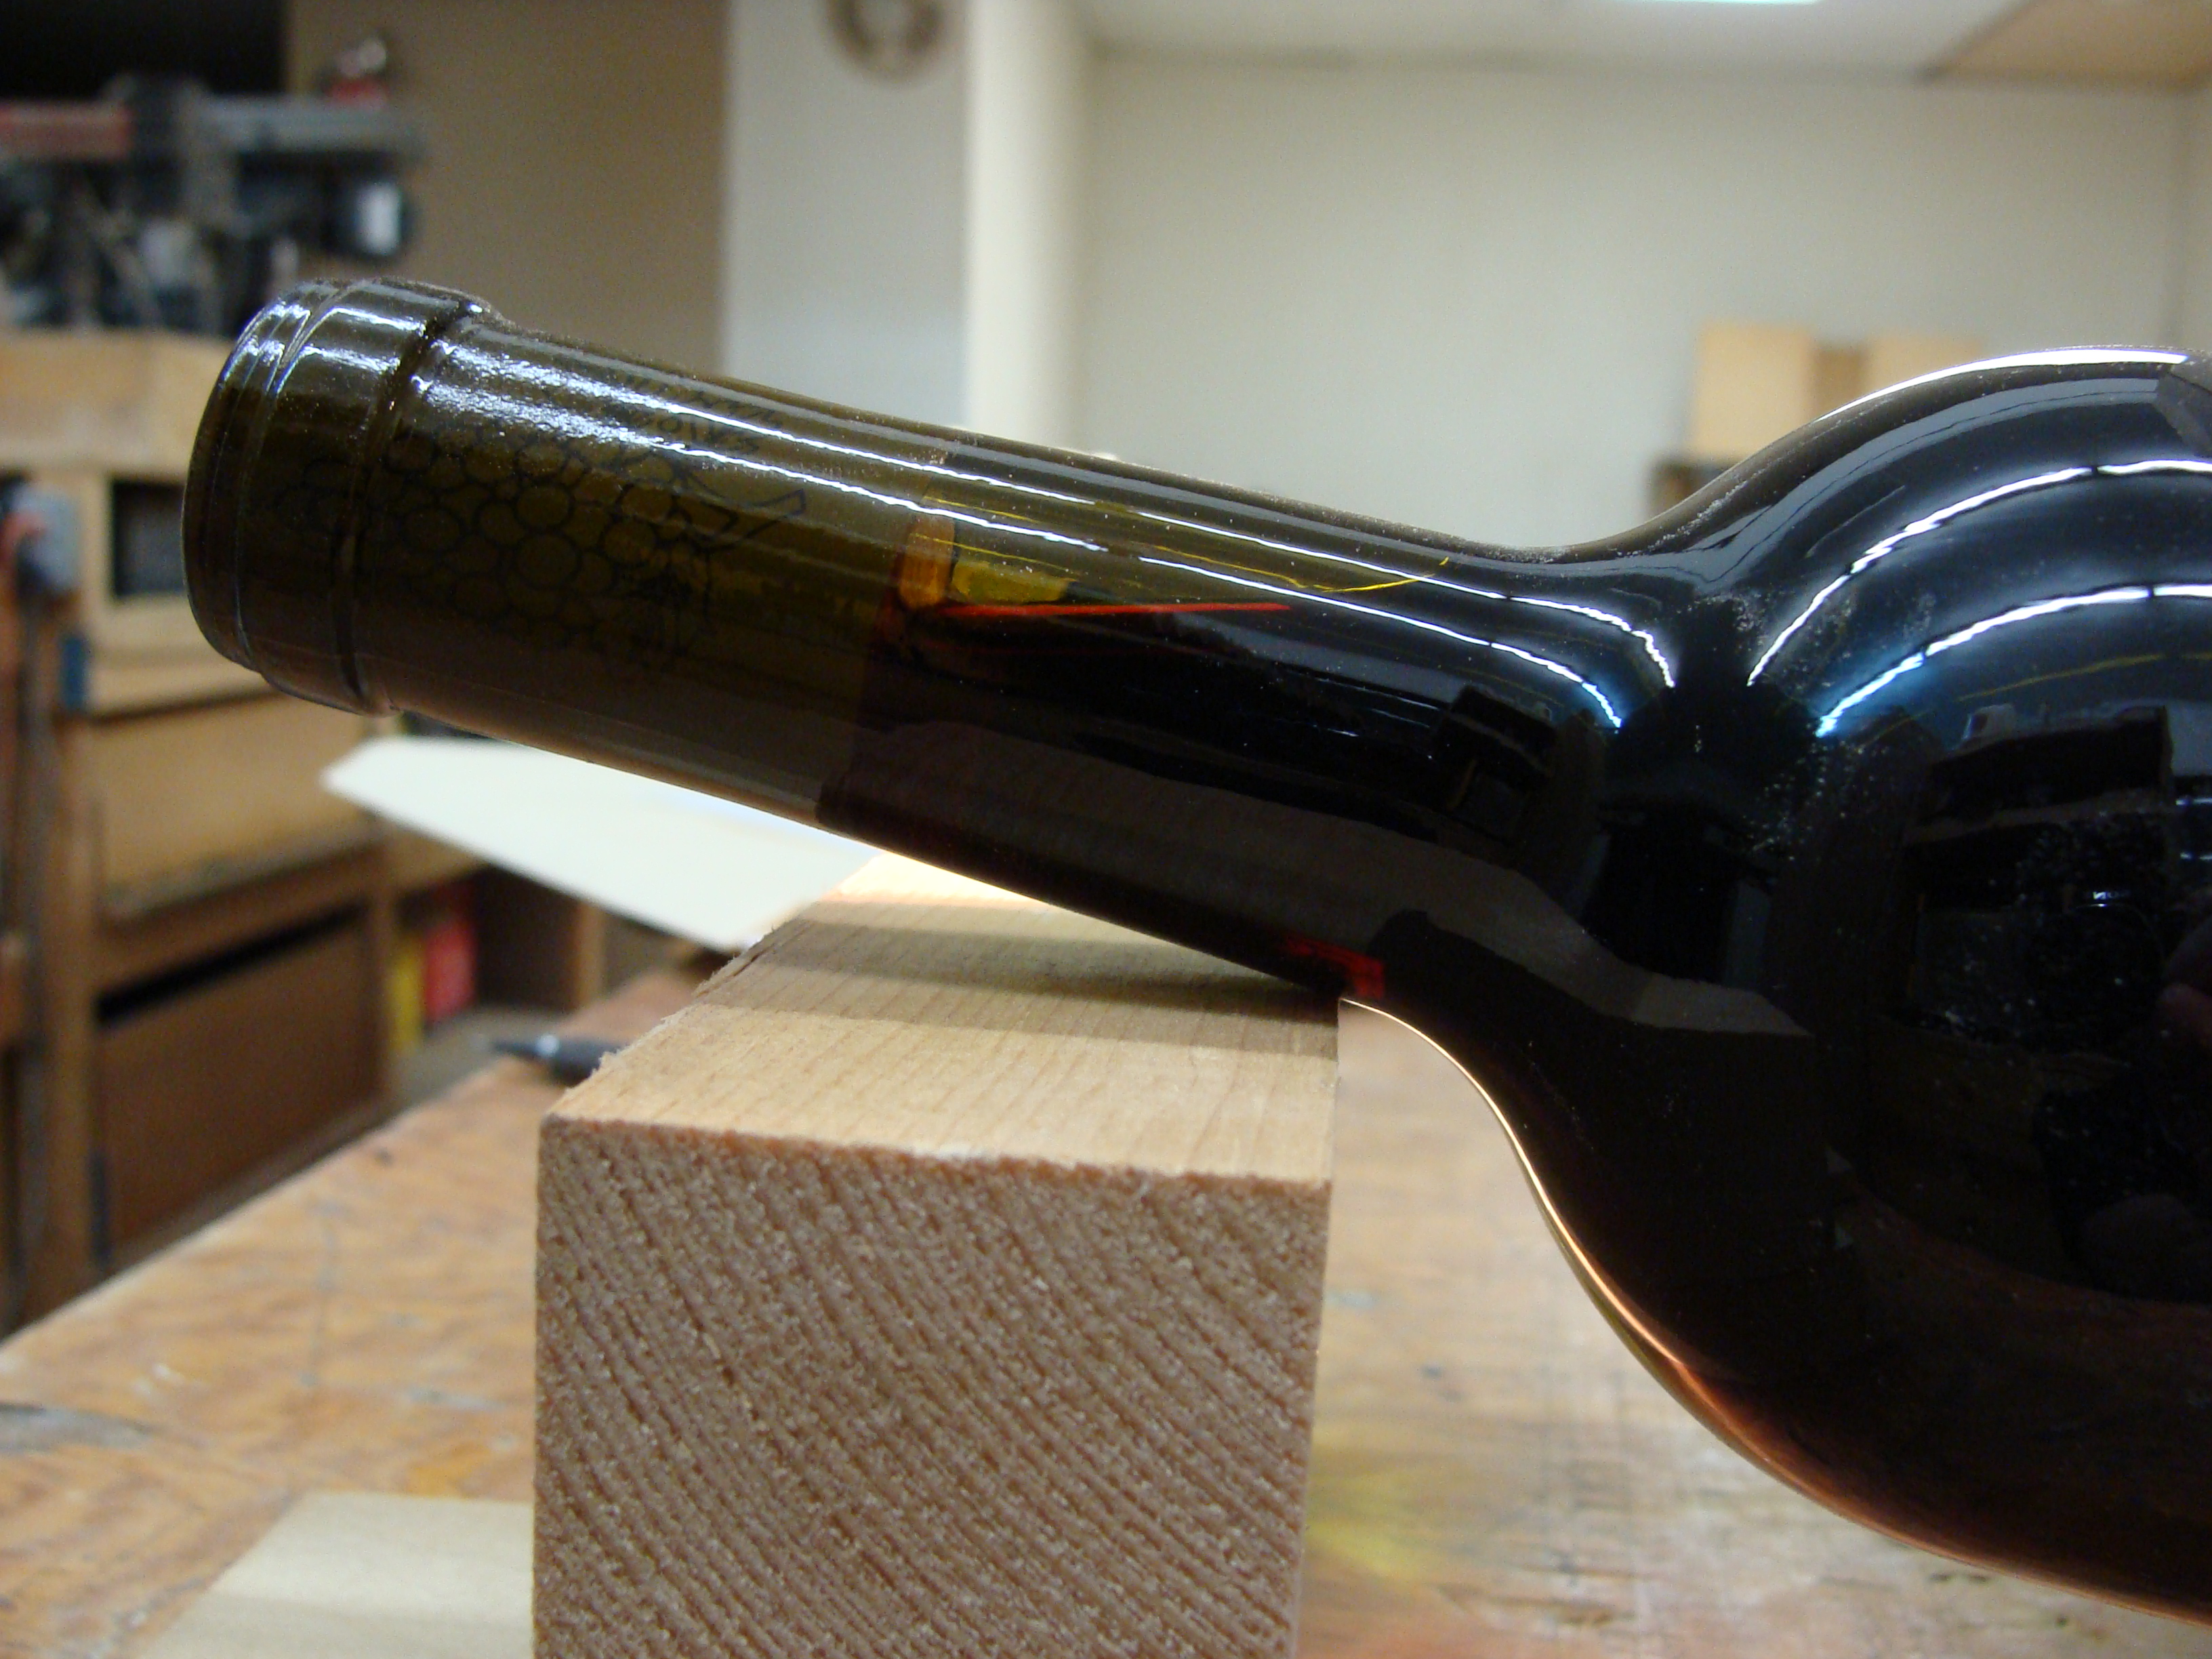
I experimented with the proper bottle tilt, the intent being to keep the cork half-wet. I did this for all bottle sizes and heights I could find and found a good compromise.
Using the shortest and tallest bottles I experimented with the cradle length.

Then I put these in my model to determine the optimum cabinet depth.
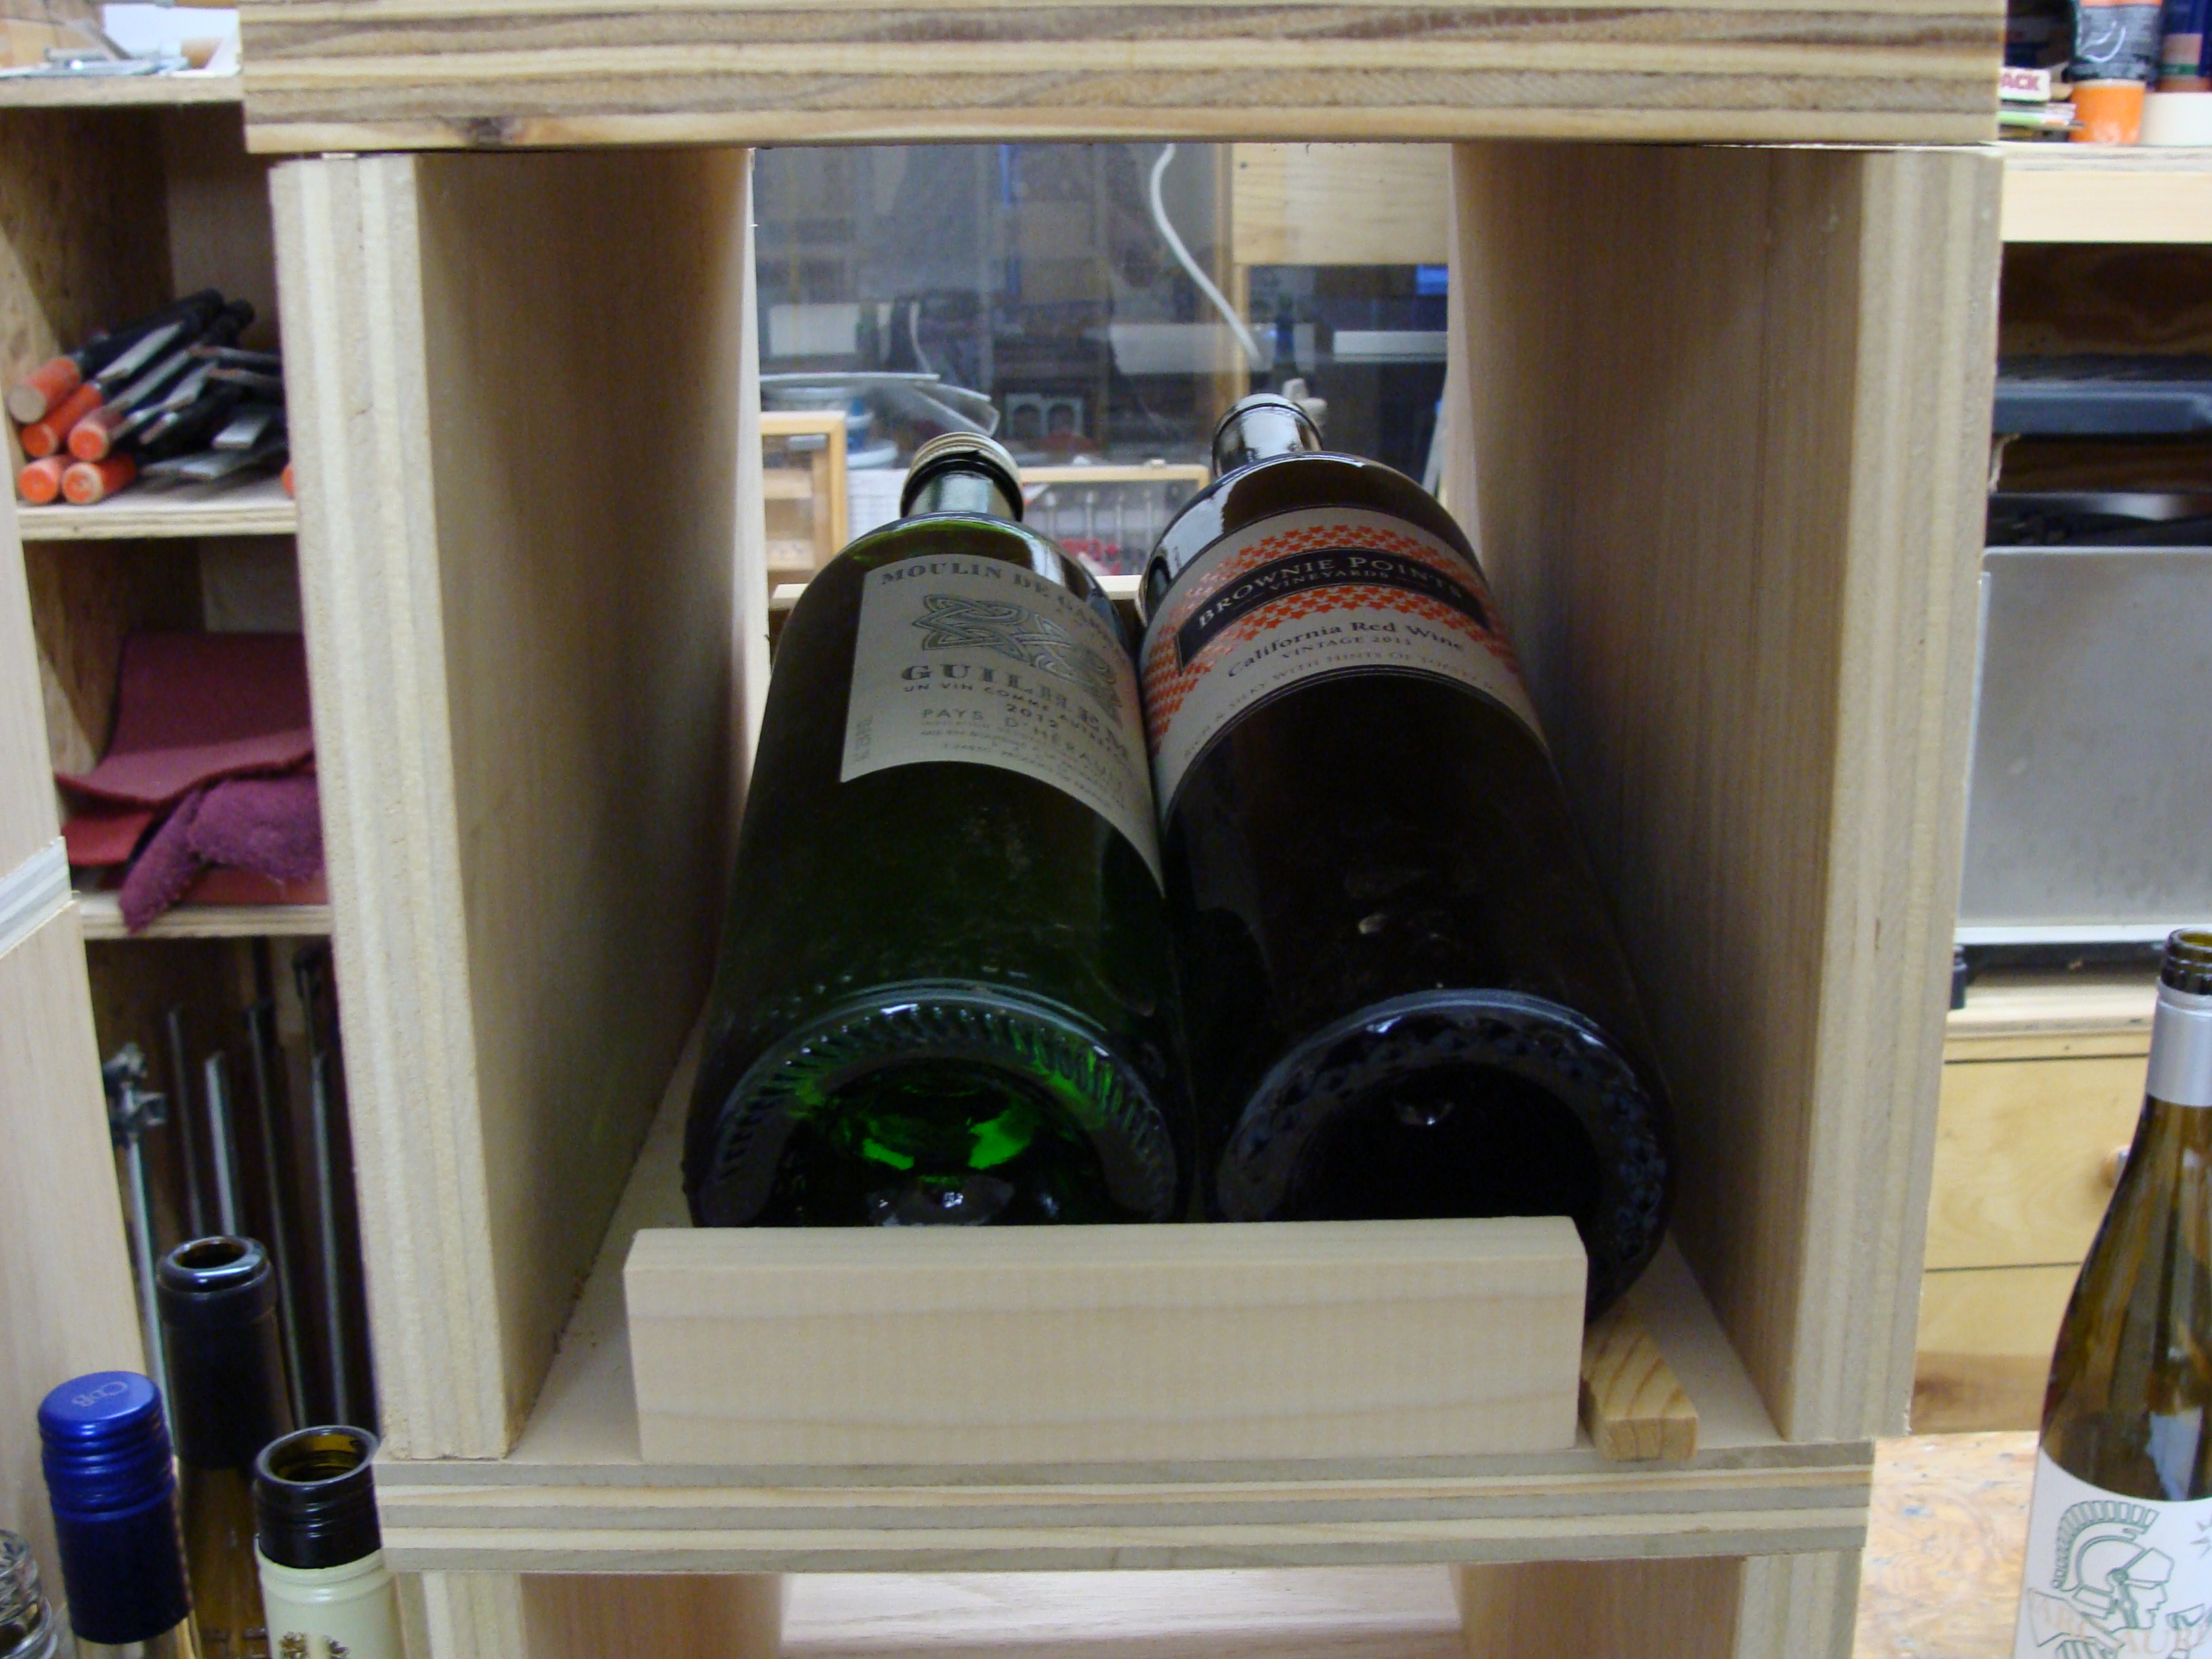
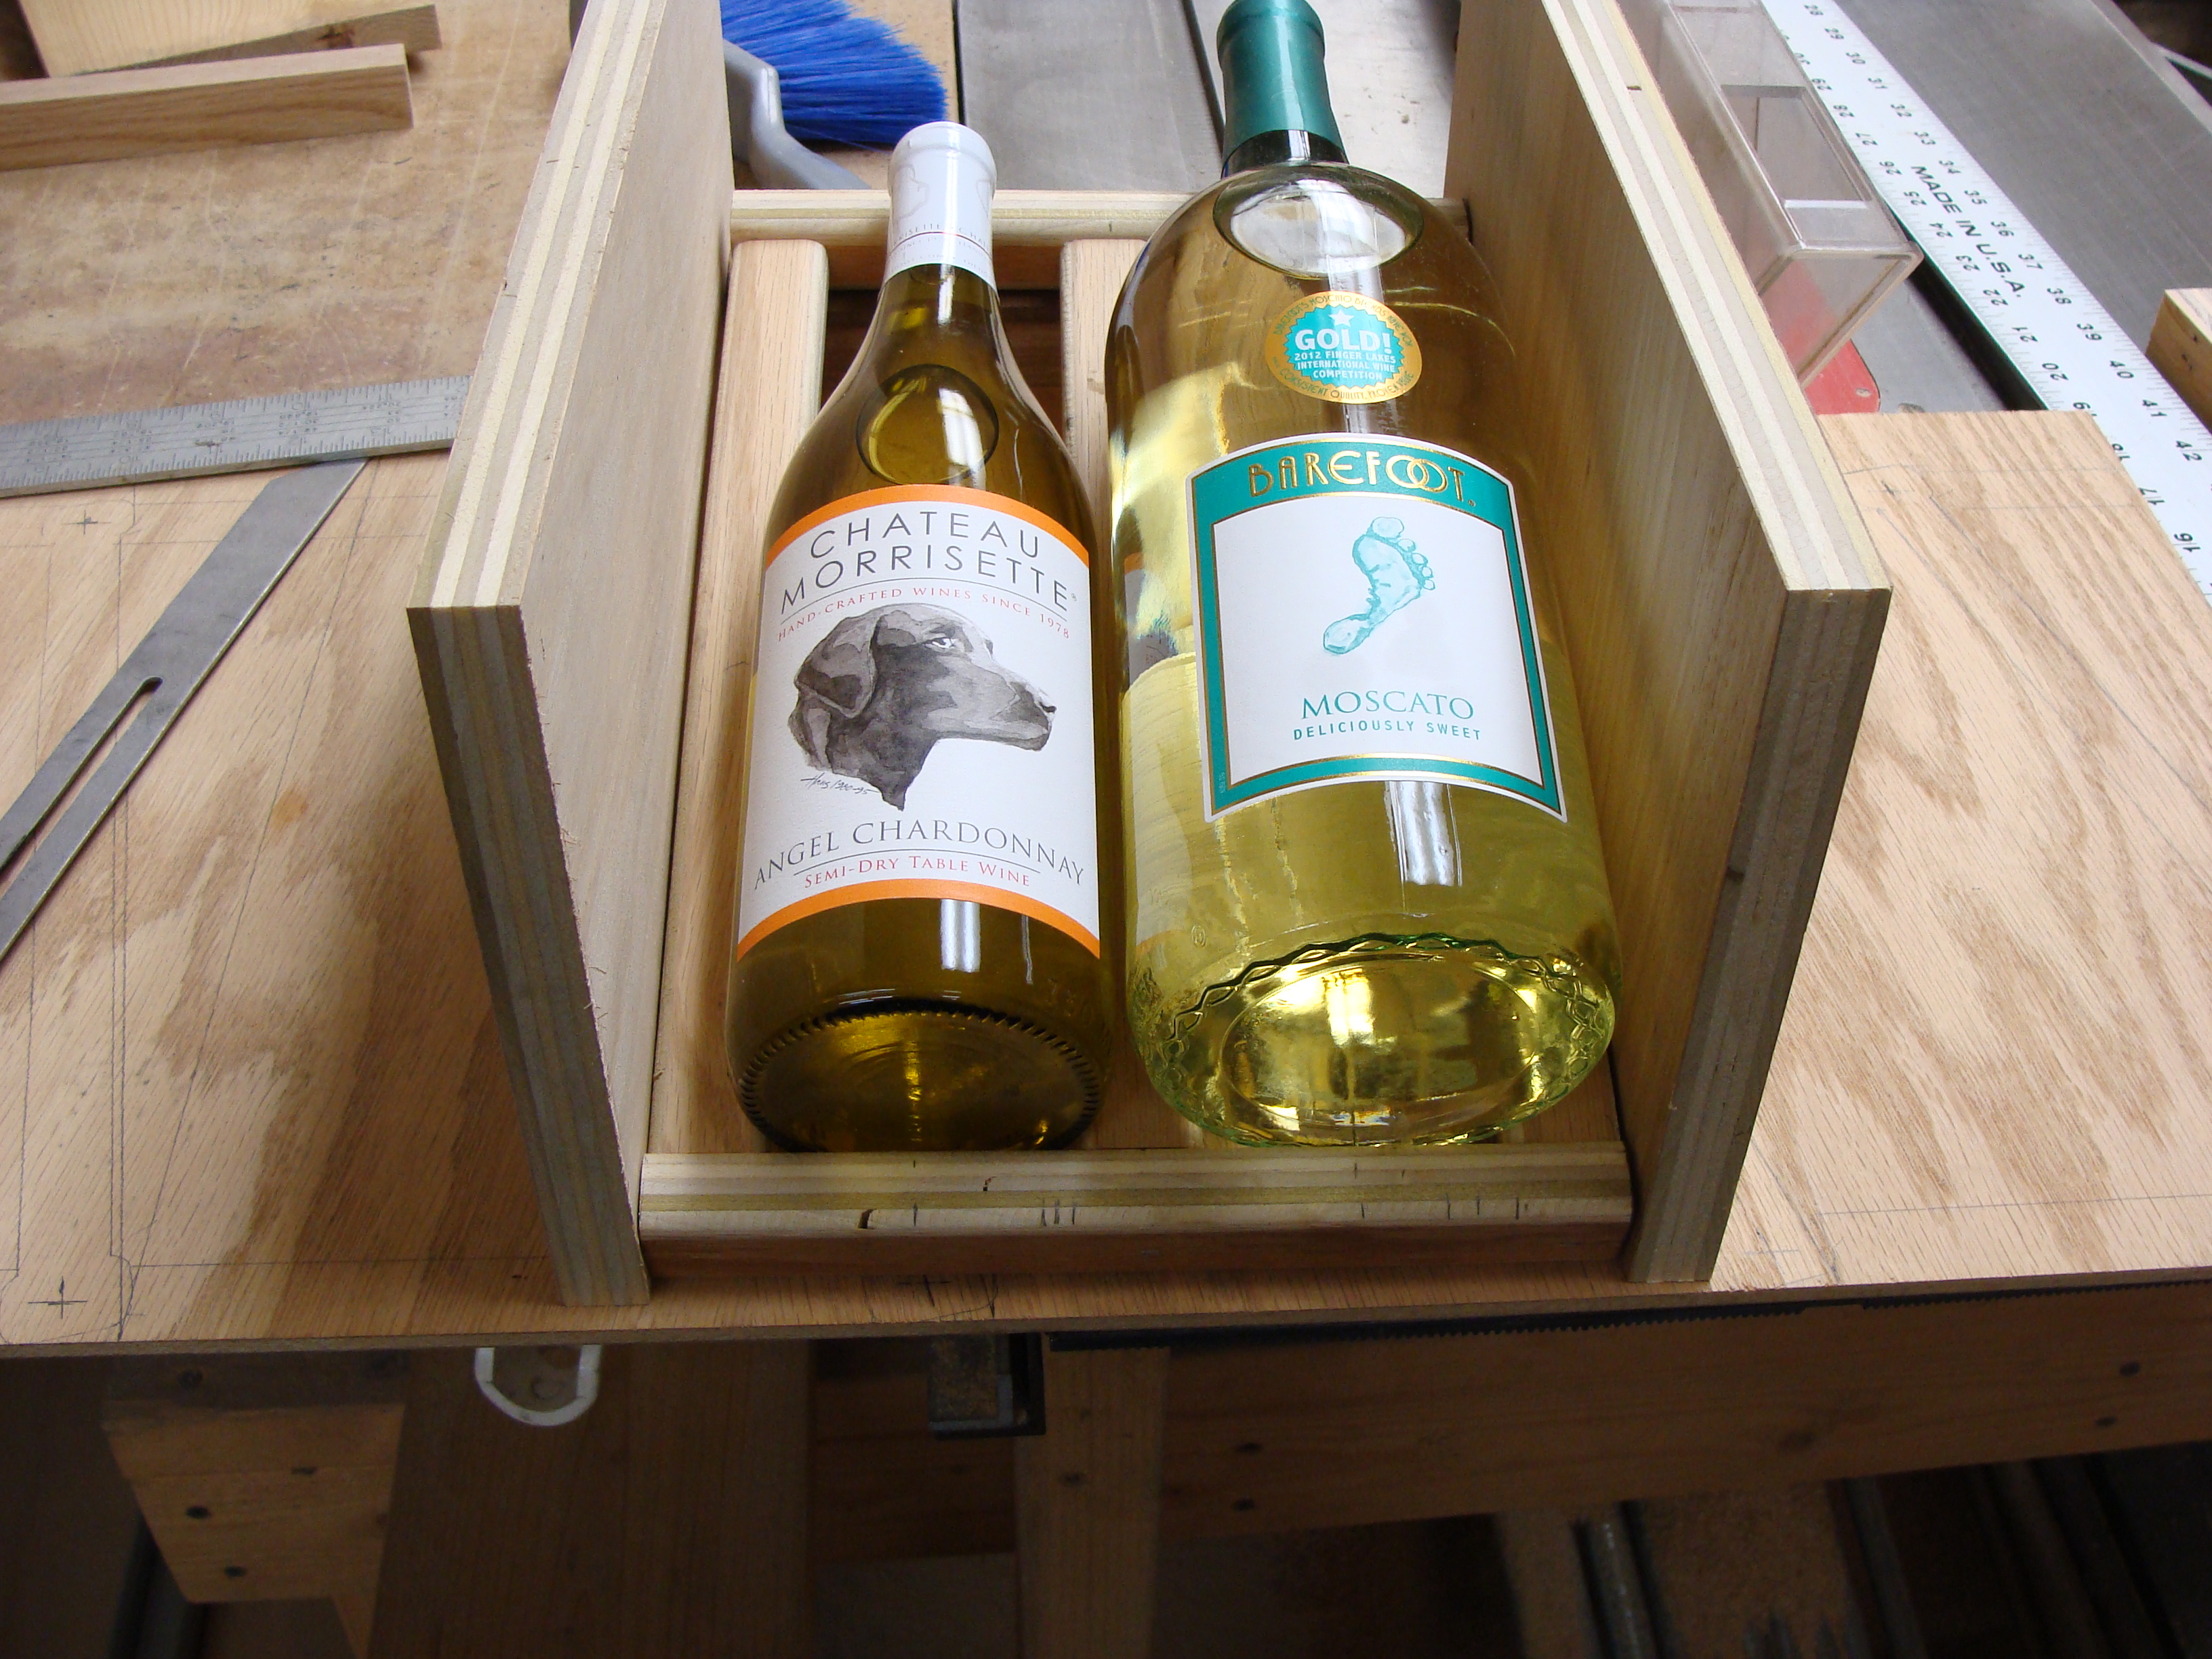
Then I made a cradle for two.

Next I adjusted the slat sizes and spacing so a 750ml bottle and a 1.5L bottle could fit side by side without touching each other or the side of the cabinet.
Testing for the proper lattice size.
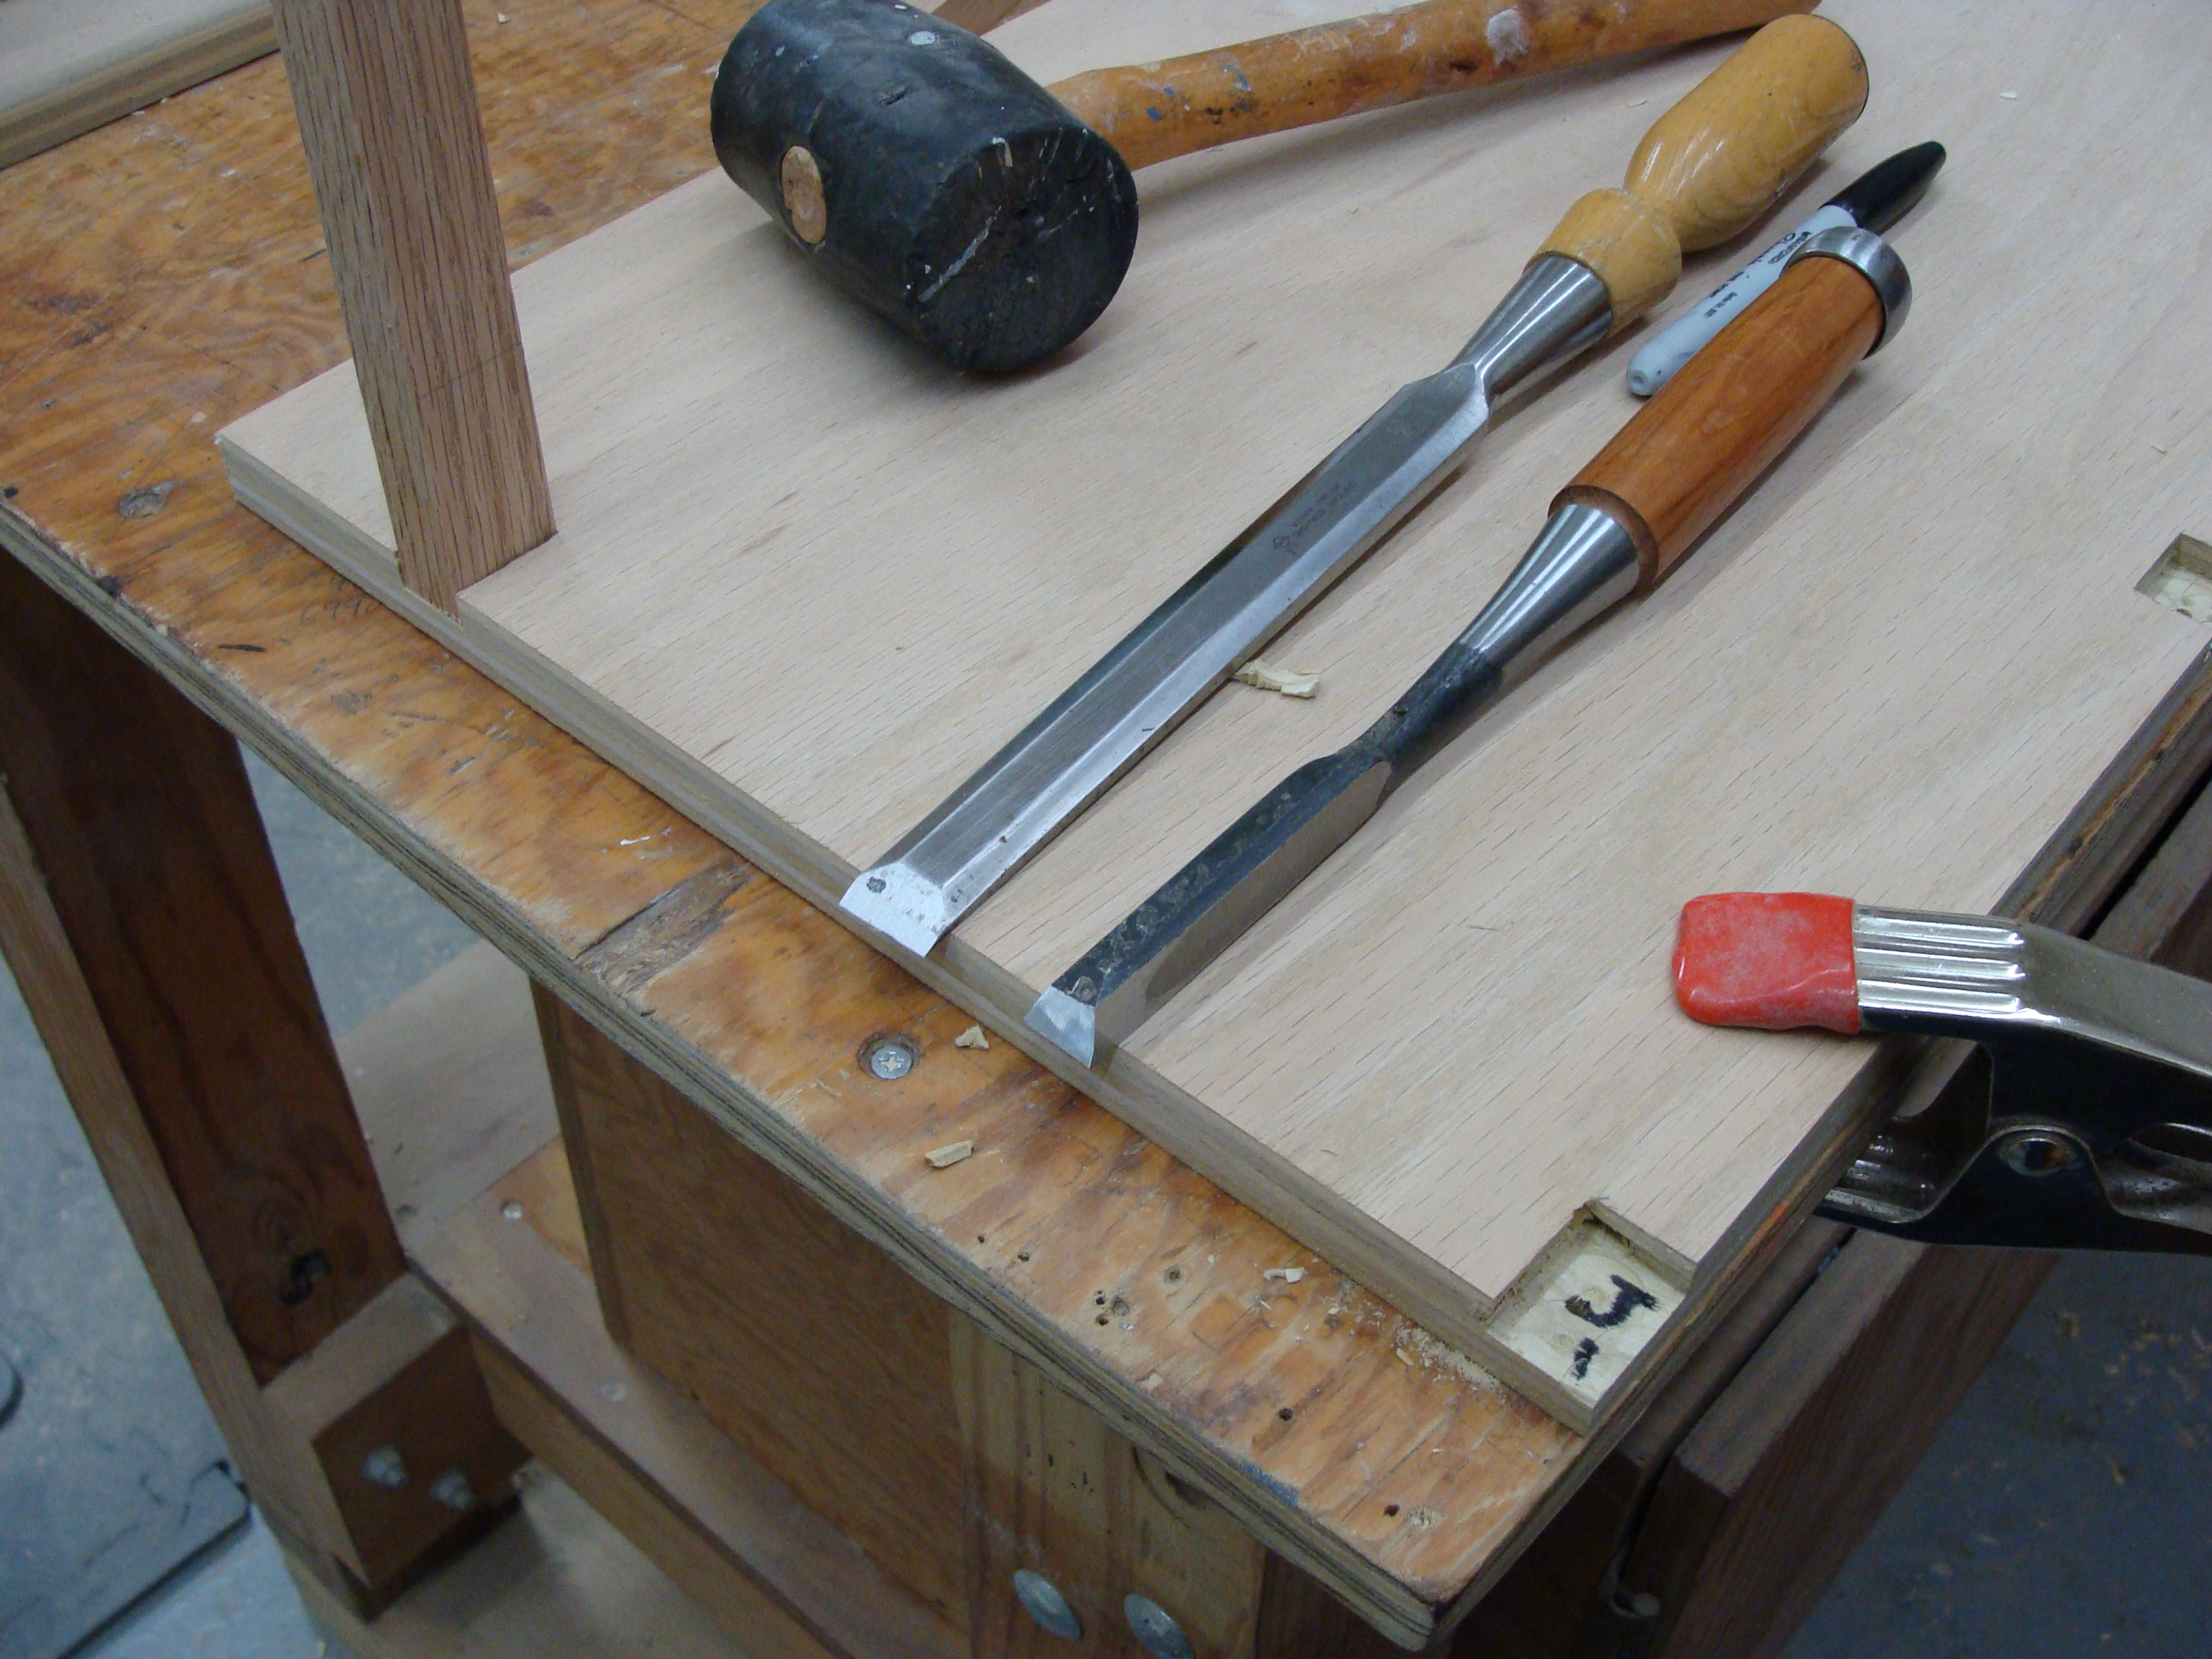
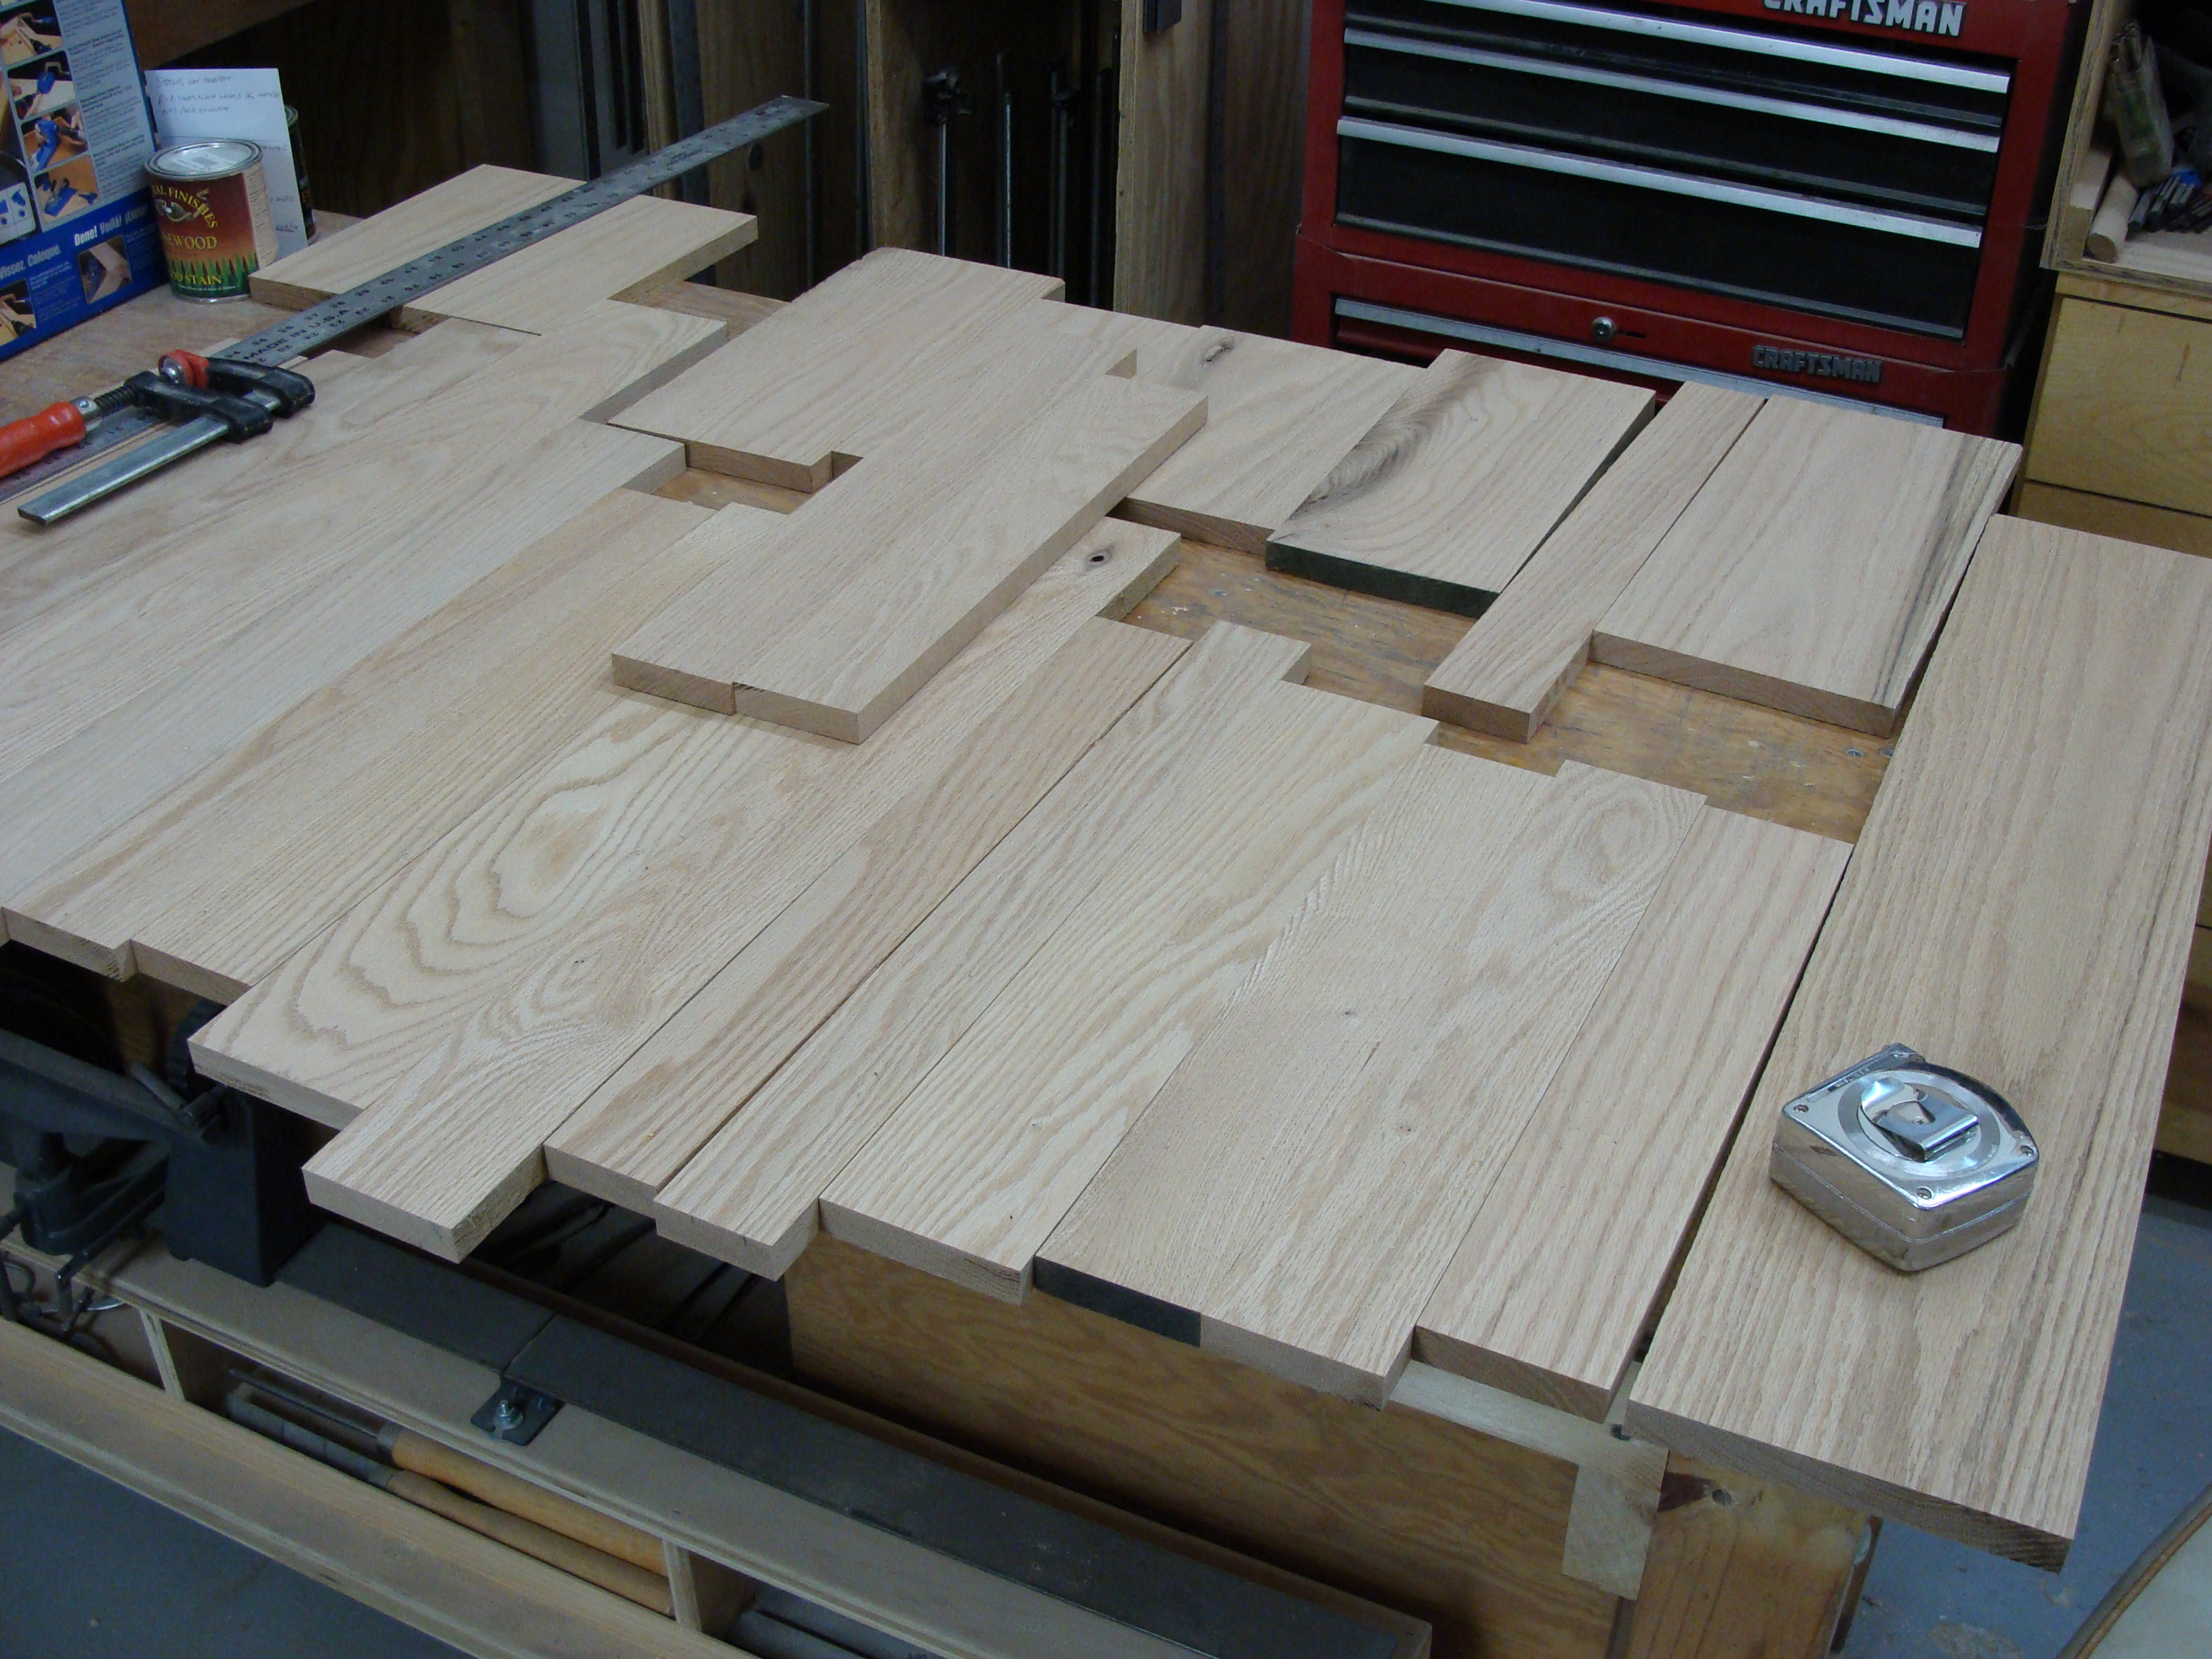
I started by planing all the wood to 3/4". Then I laid it all out to inspect for cupping, warping, shake, grain and color.

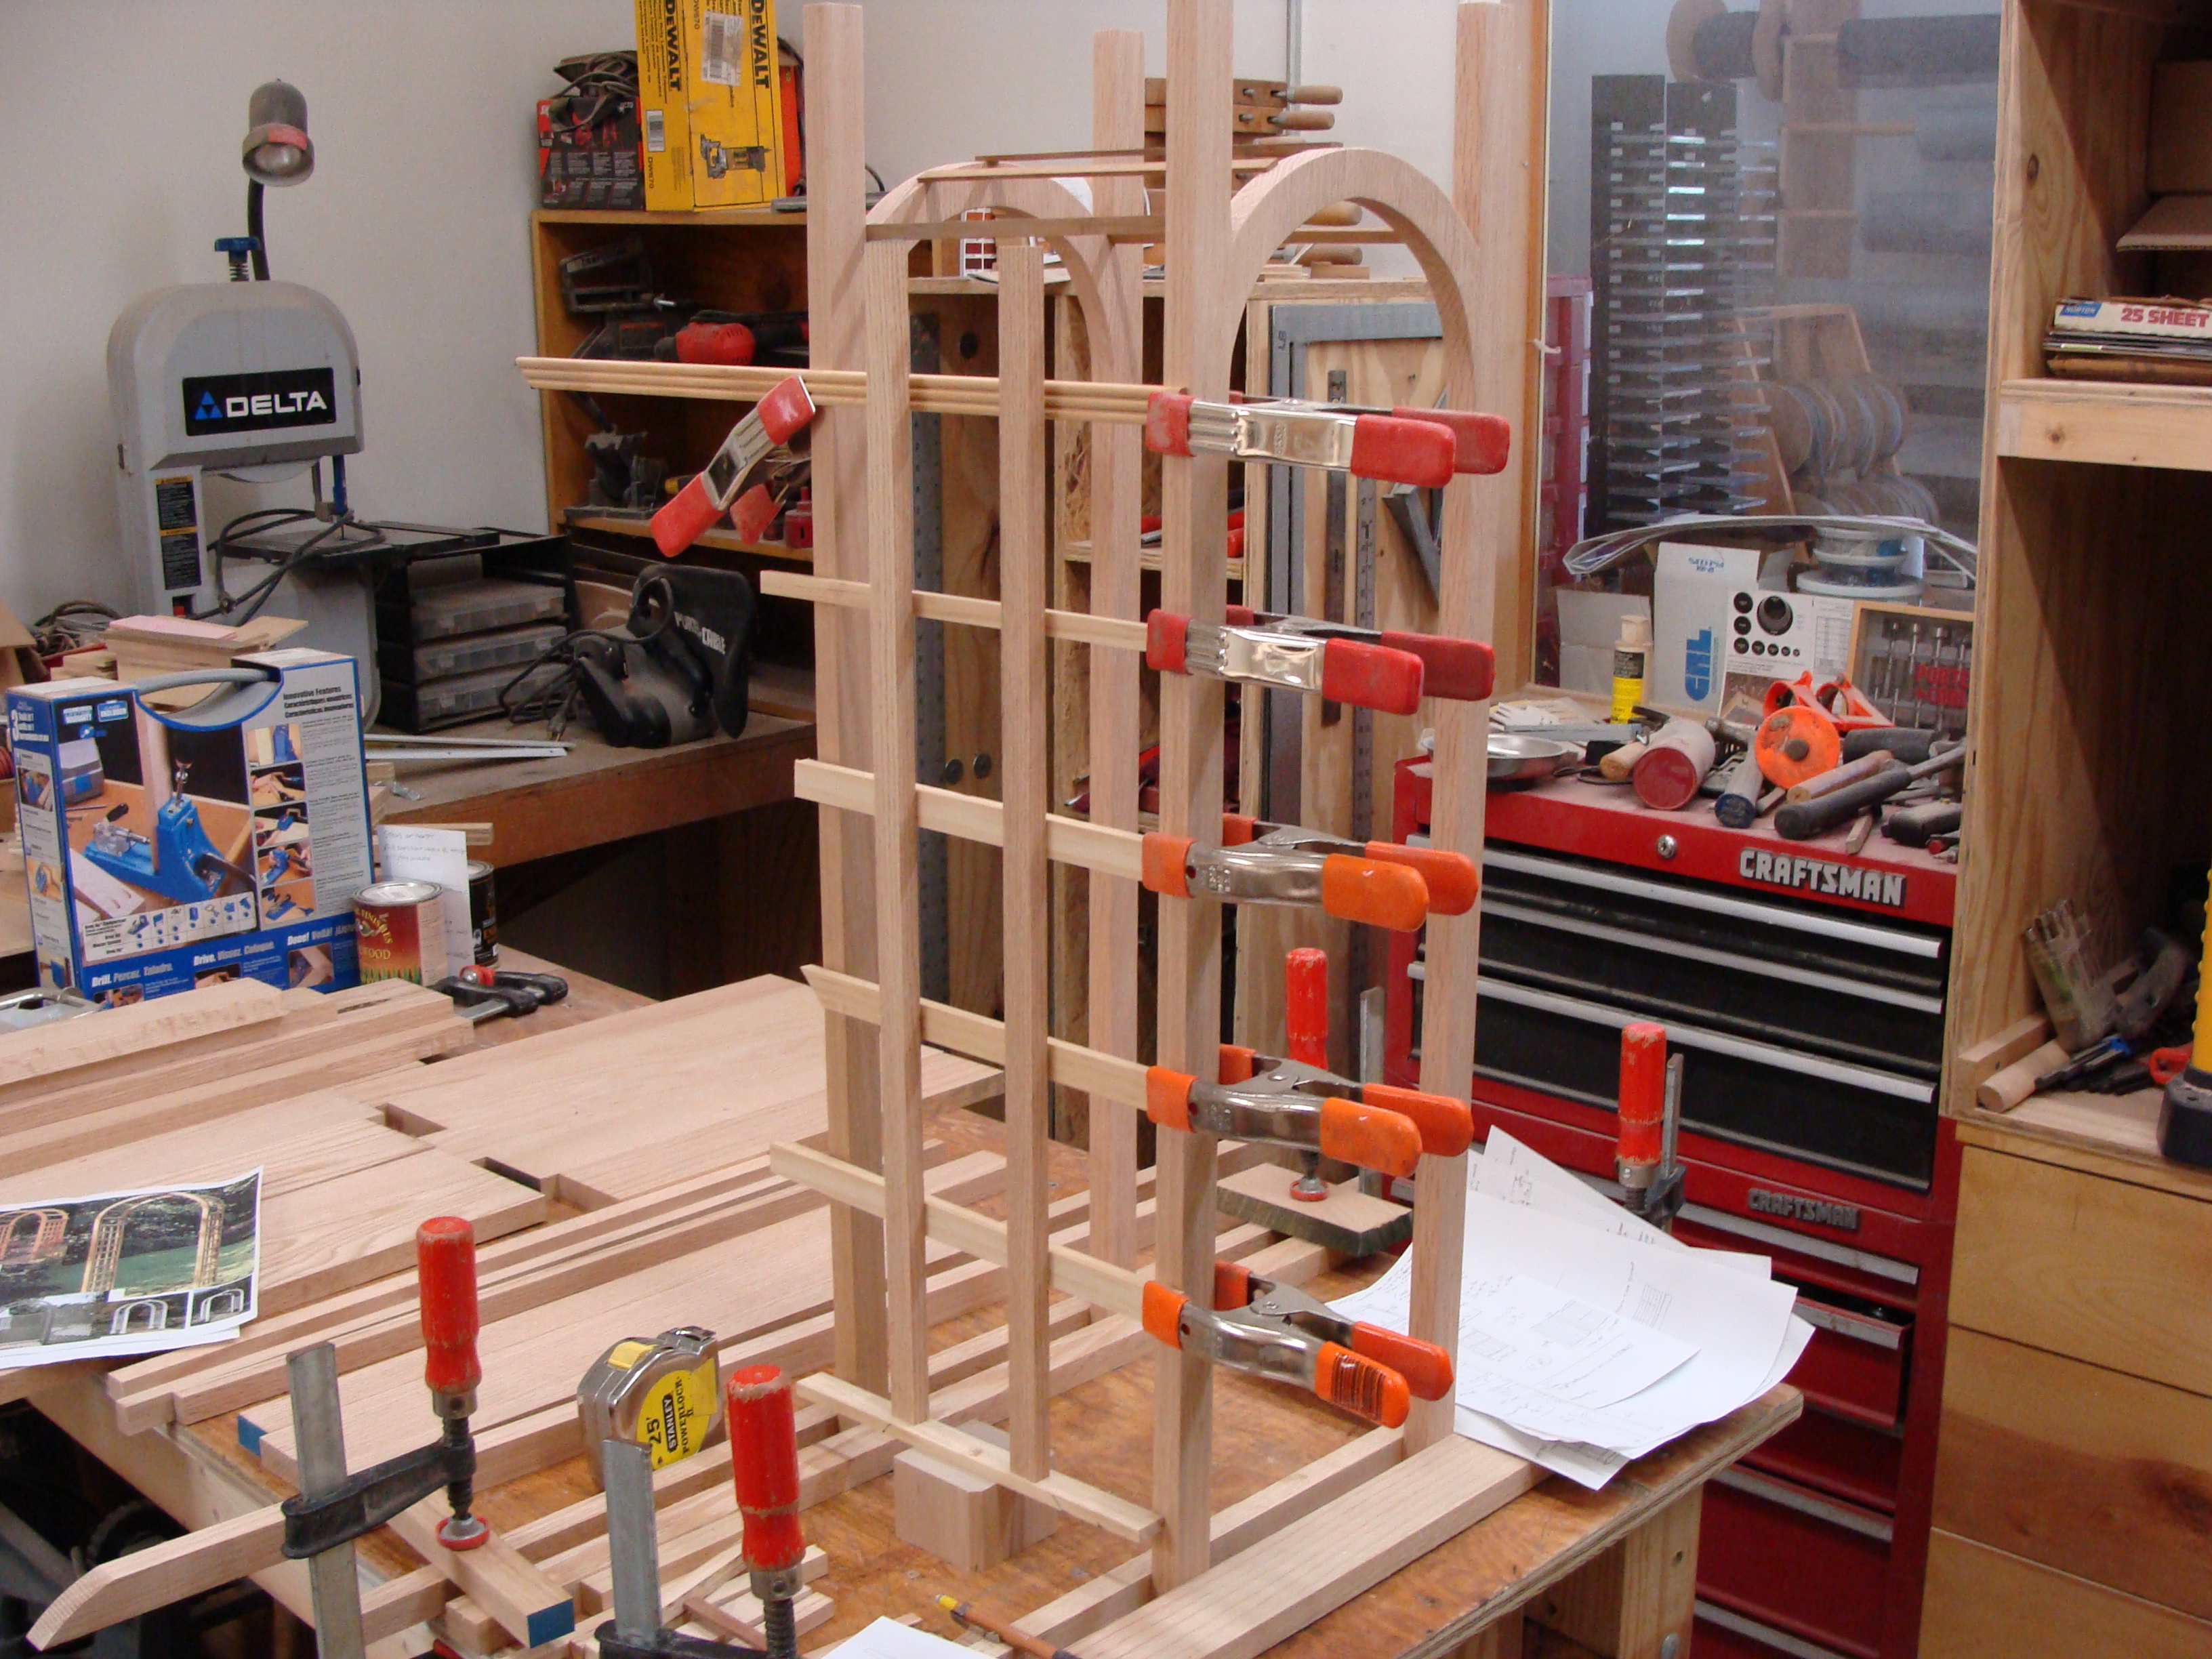
The longest and straightest pieces got glued together to make the arches and other vertical pieces.
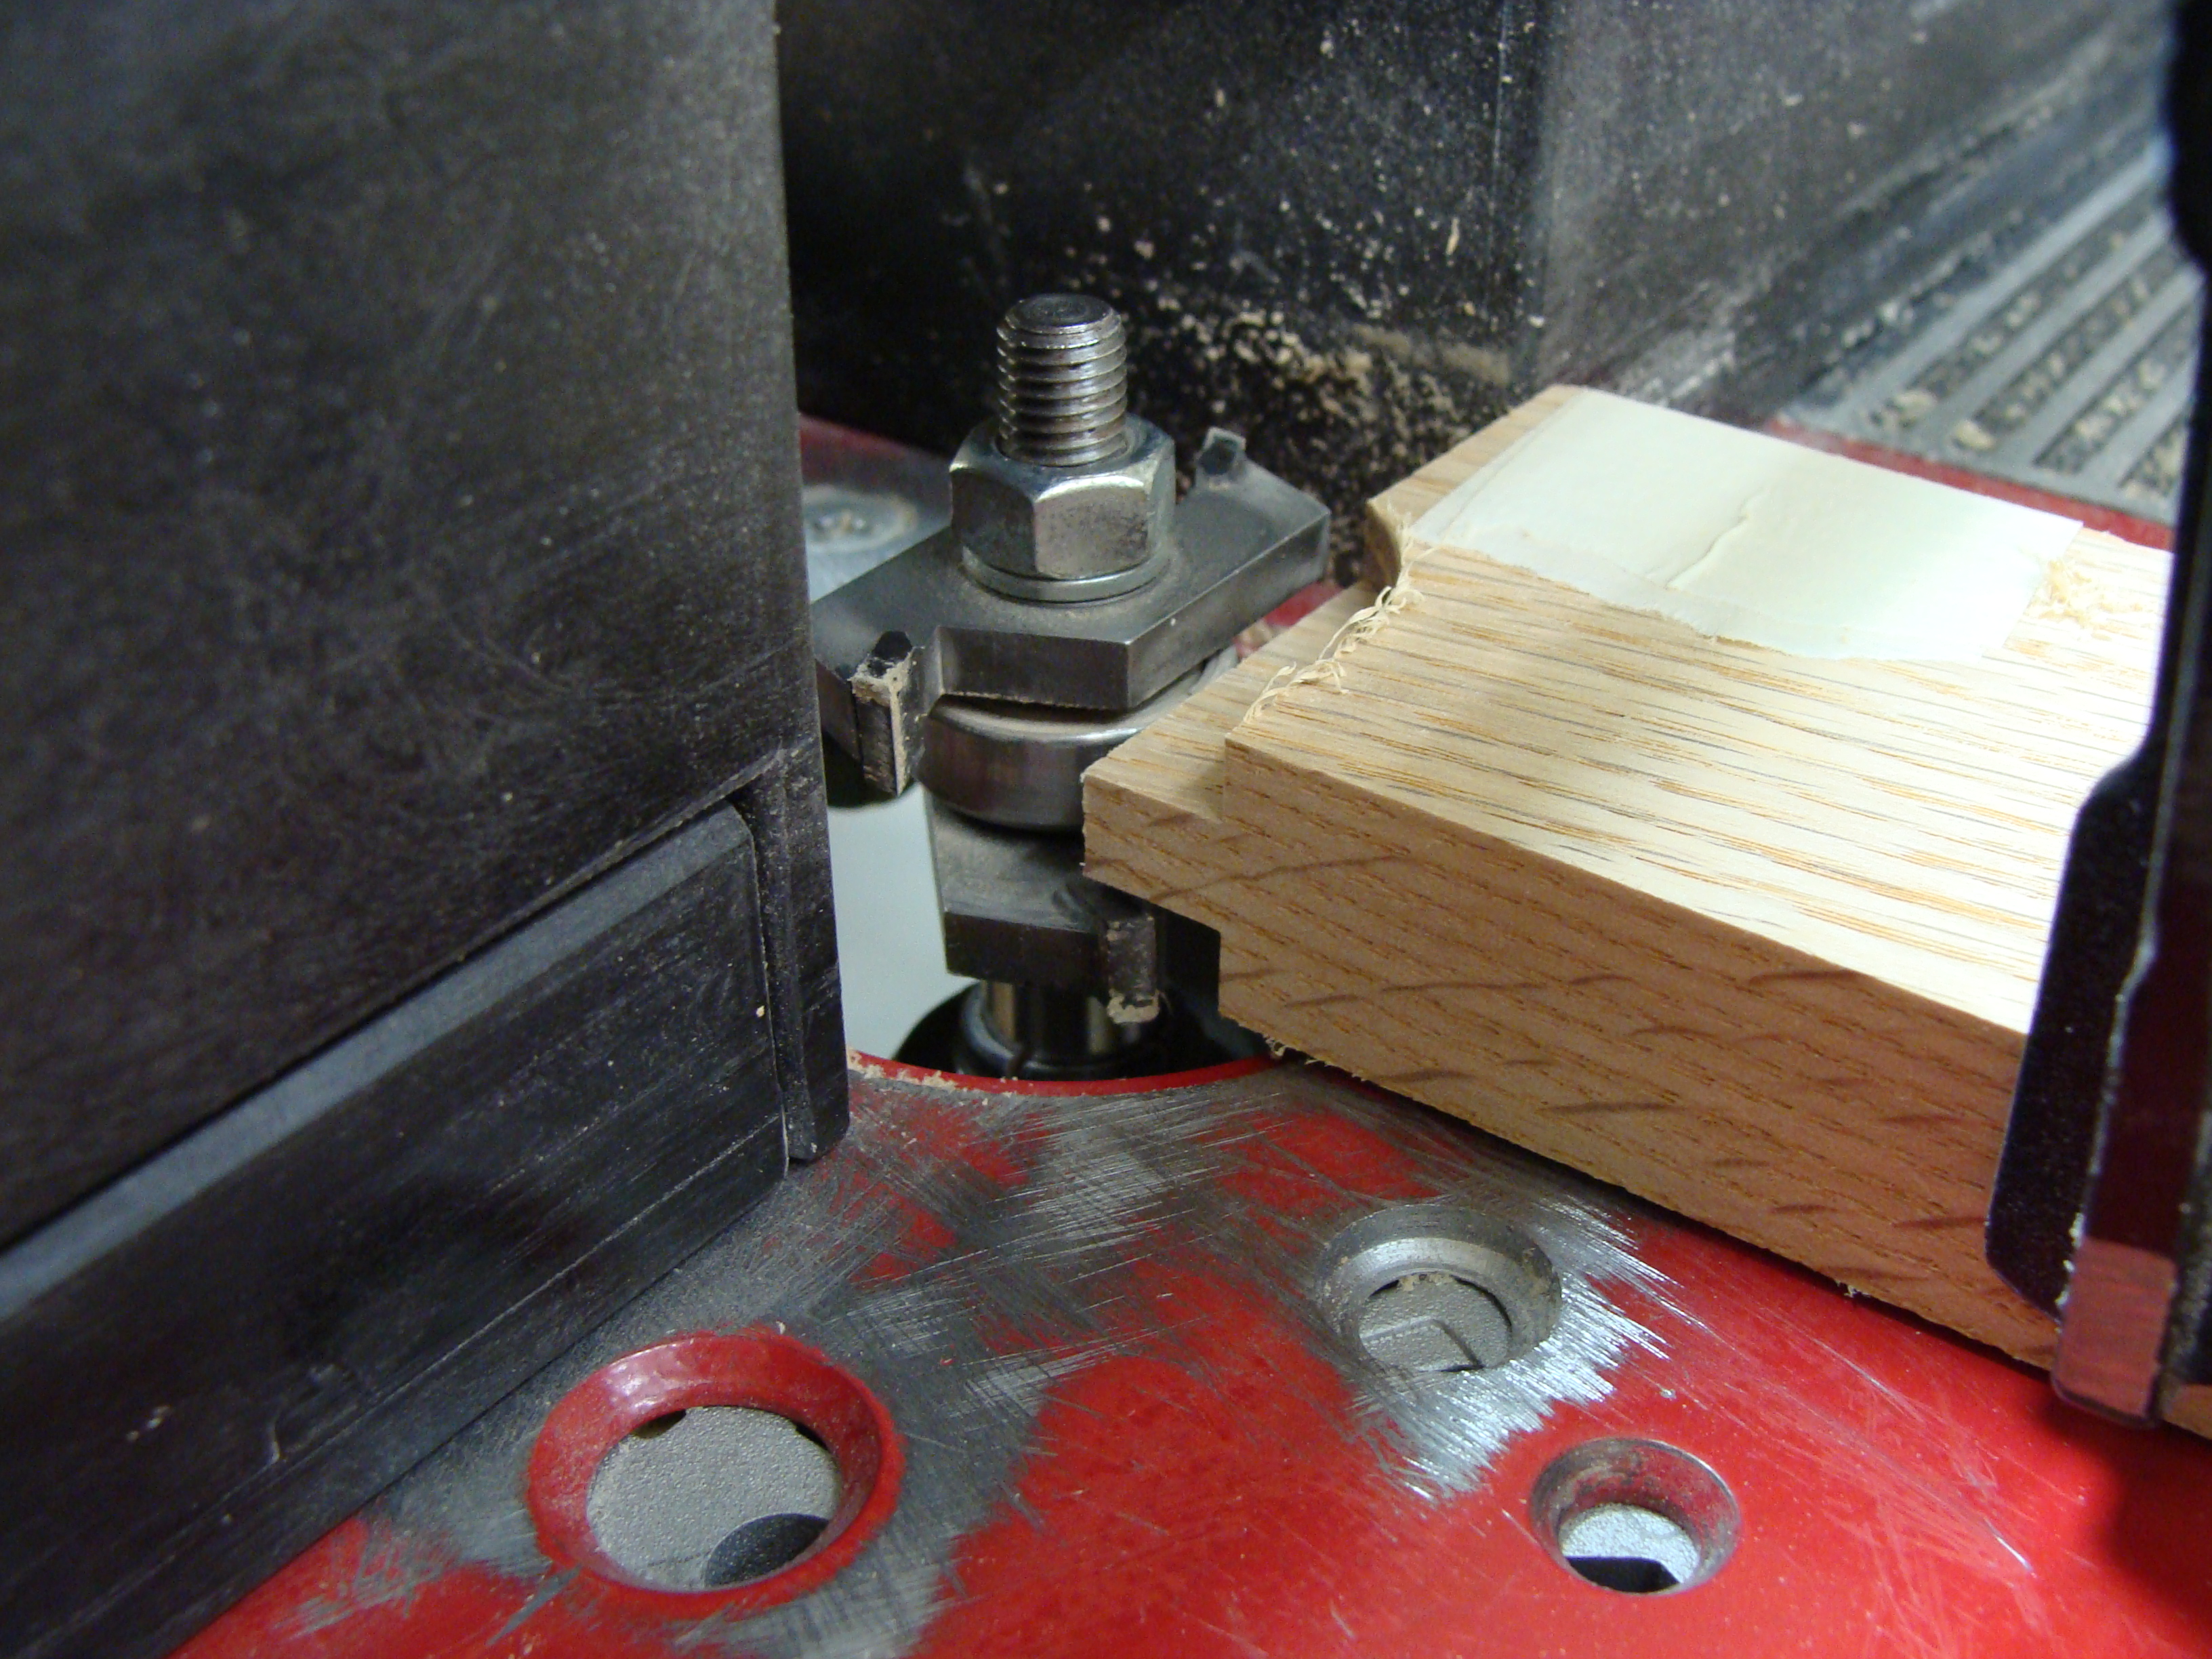
I used a tongue and groove bit to make the door frames.
The arches were mortised into the bottom plywood. Upper pieces were also mortised. This locked in the verticals so they couldn't move.