Barrister Bookcase
Barrister Bookcases were popular with lawyers as they could hold and display their books. The cases kept them dust free but visible and the unique design allowed them to be disassembled and carried; with the books still in them.
I had a customer bring me a request to make him some and he brought a large collection of wood from Africa that he called Mooqua. I have unable to find a reference of this wood but it is similar to Koa, Tasmanian Blackwood and Olivewood. It is a hardwood but had been kept in his basement for about 25 years leaving it with little moisture. I had to take great care with it so I didn't split it with nails.
The wood is mostly brown but has almost pure white on the edges and many of the boards were almost pure purple. I only used a small amount of the purple. The longest and straightest boards I used for the sides so the grain matched up and down. I pulled out the pieces that made interesting designs for the door frames as they would be the most visible. The darkest pieces went towards the bottoms of the two sets and I worked the colors up the spectrum towards the top.
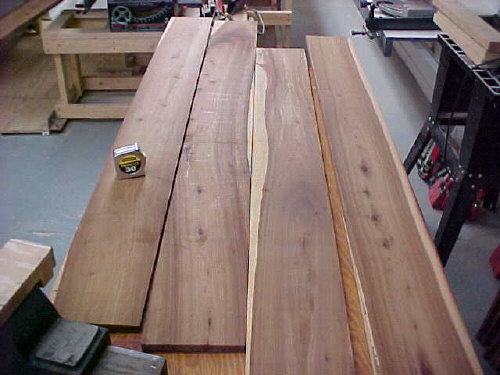
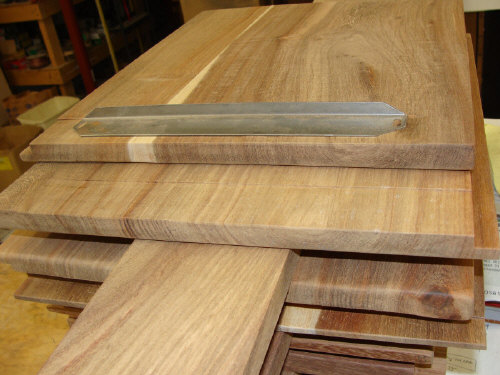
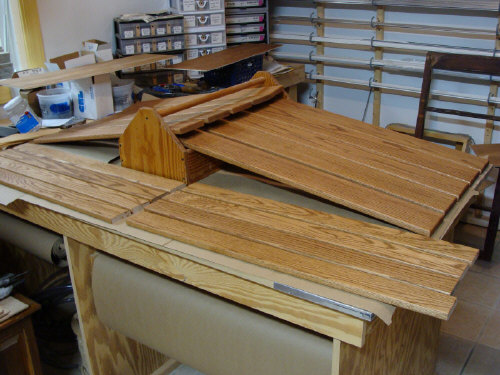
Here is some of the raw stock I started with.
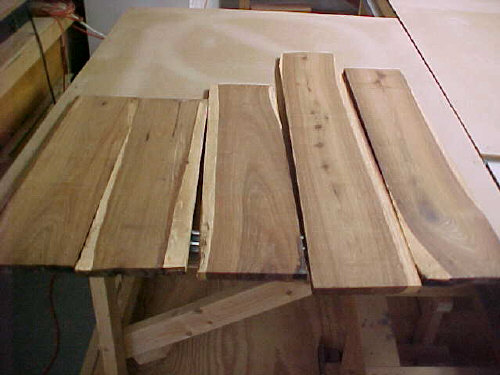
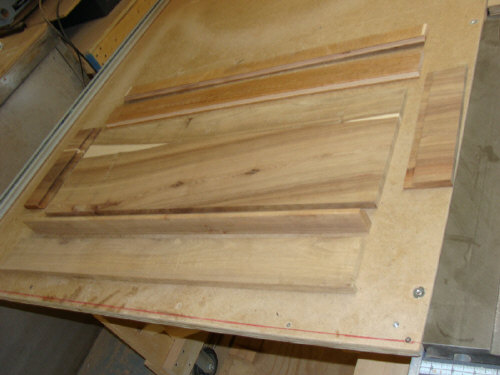
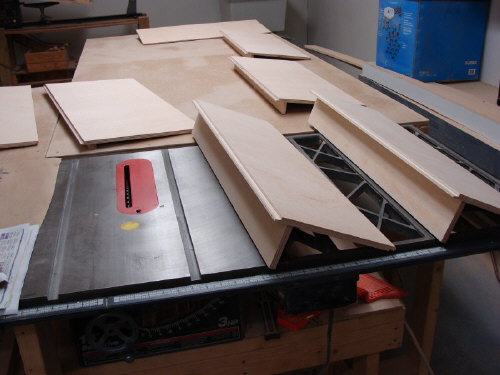
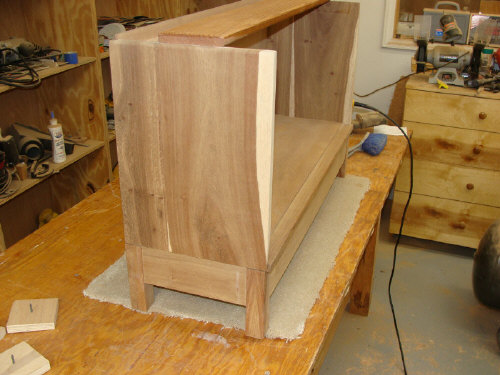
These four pieces I selected to be the continuous sides of the bookcases. They were then cut to the dimensions of each cabinet. The lower cabinet is 18" tall, the next two are 13" and the top two are 10".
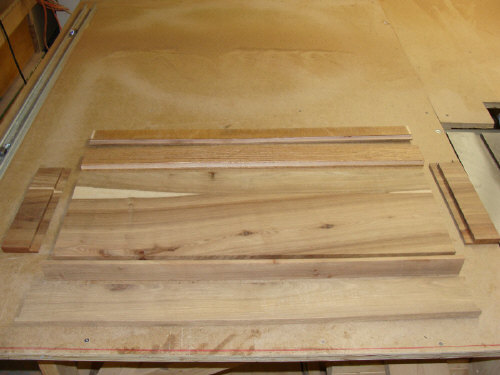
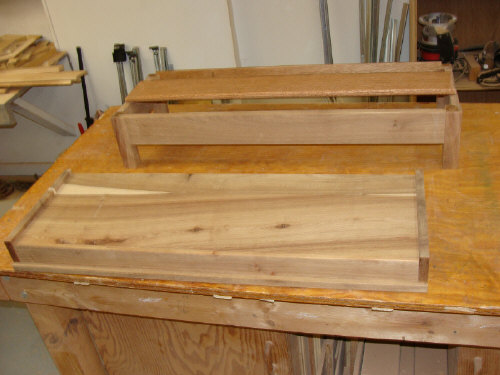
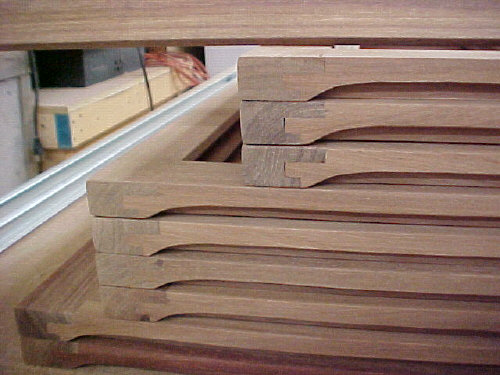
Here are the side and base front pieces.
This closeup shows the slight inset for the slides. This makes the metal flush with the cabinet so that the doors don't hit the metal as you open them which could gouge them.
This was a bit of a challenge. The left sides were done on the front of my 6" joiner. To accomplish the same cut for the right sides I had to reverse the joiner a bit and grind down the rough metal on the rear of it. A custom fence later I had my cuts.
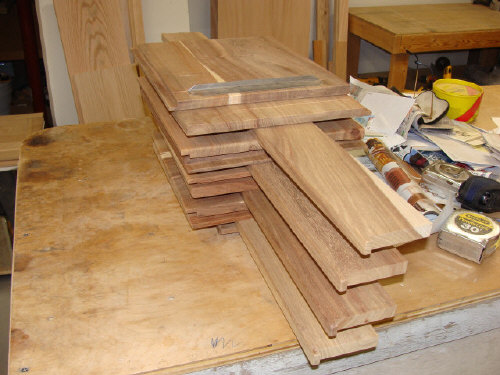
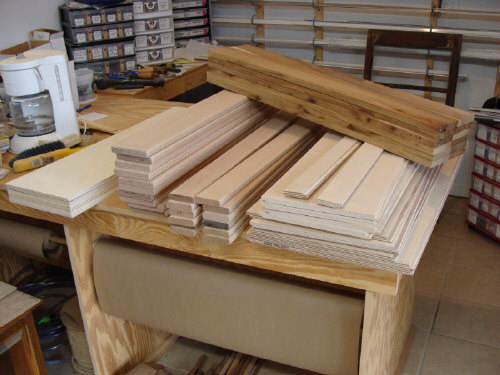
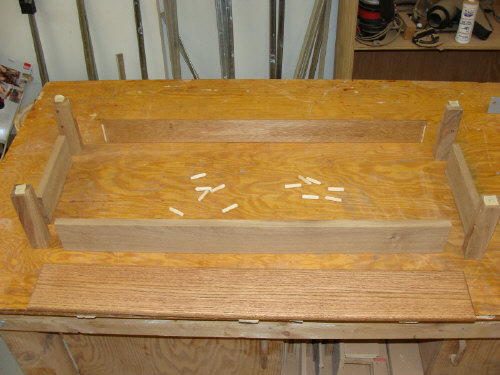
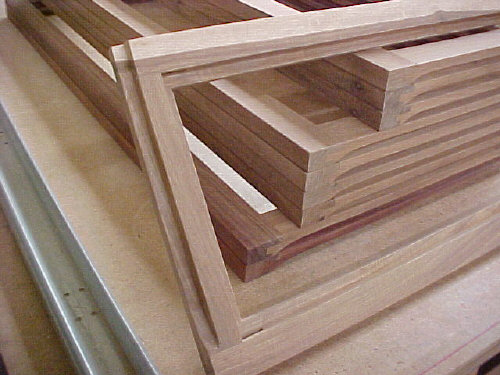
These are the components of a single cabinet.
It is amazing how many pieces it takes to make something that looks so simple when finished.
Various pieces. Note the 1/2" plywood on the right. Each has an offset 'V' cut into the top and bottom edges. The bottom edge tends to the rear and the top edge tends towards the front. When a cabinet is placed on top of another, these two grooves lock the cabinets together so they can't be pushed or pulled out of place.
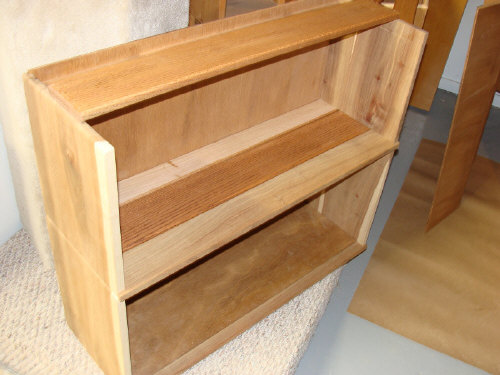
The backs have had the stopper board attached. This board is what the door hits as you open it and slide it inwards. Each height of cabinet has a different depth of stopper so when they are all open they look pleasantly layered.
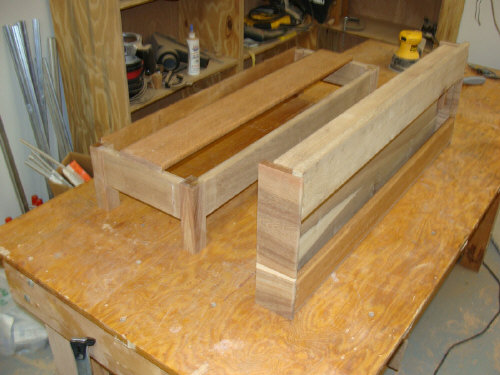
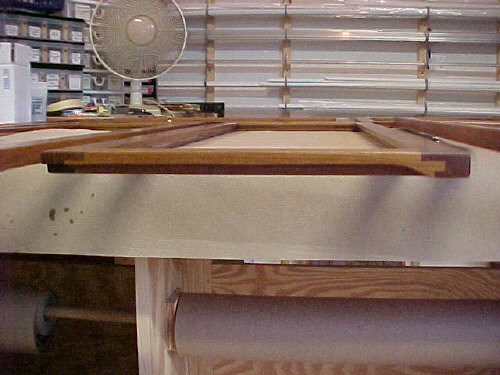
These are the pieces of a base ready for assembly.
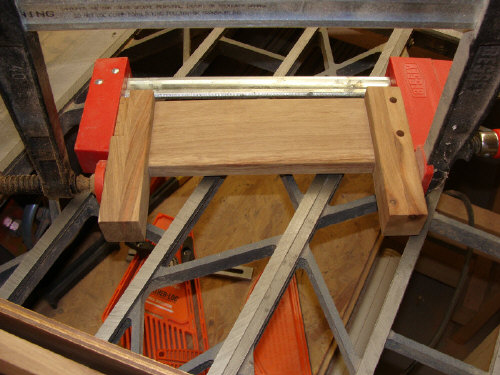
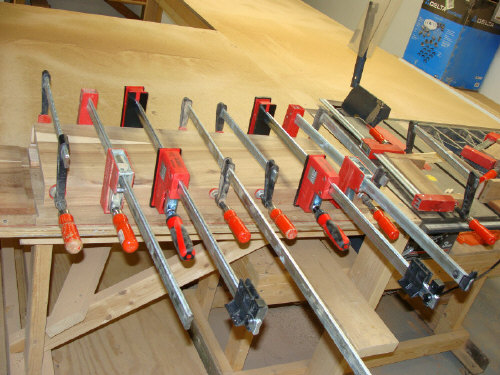
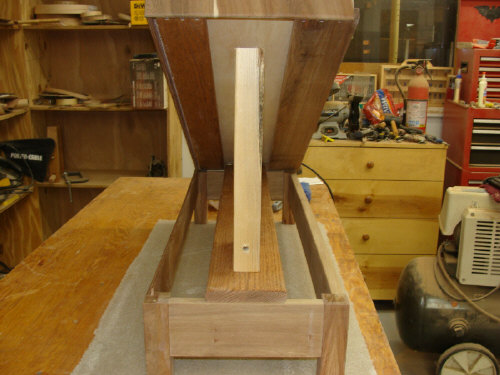
Legs for a base getting glued and clamped. Note that I doubled up the 3/4" wood to make thicker legs.
Glueing up one of the tops.
These pieces of 5/4 solid oak make the top middle handles for the cabinet.
A completed base and top.
A second view.
I propped up the lower cabinet to show how it locks into the base.
Lower cabinet sitting on the base.
Two cabinets showing how they lock together. The sides also lock so the cabinets can't be pushed side to side.
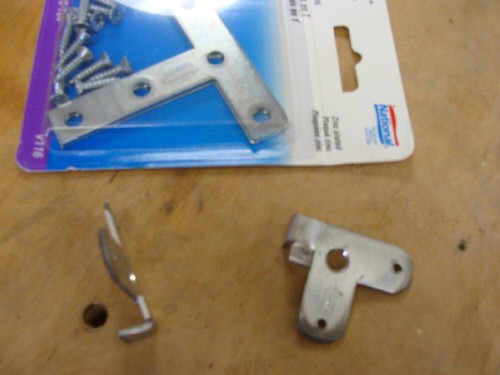
I custom made all of the hinges from 3" 'T' stock. A vise, hammer, punch, hacksaw, grinder and drill were used. Half were made for the right sides, the left sides had to be mirrored. And the customer began to wonder why this was taking so long to finish.
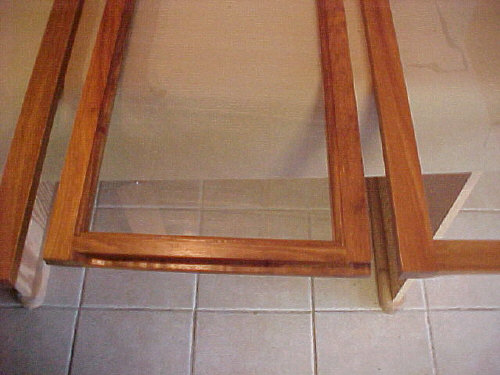
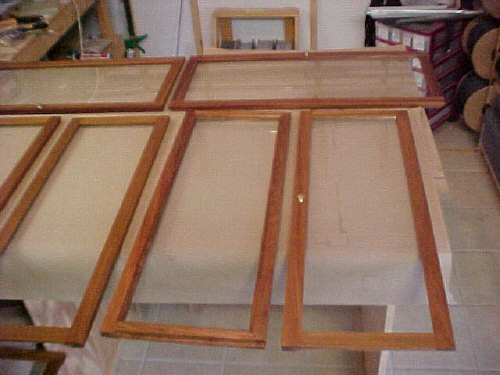
Some of the assembled door frames. I wish I had taken some pictures of the individual pieces before assembly.
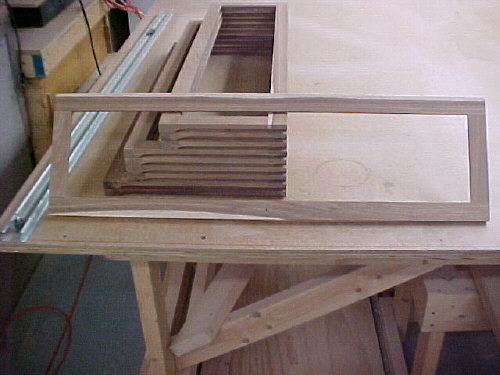
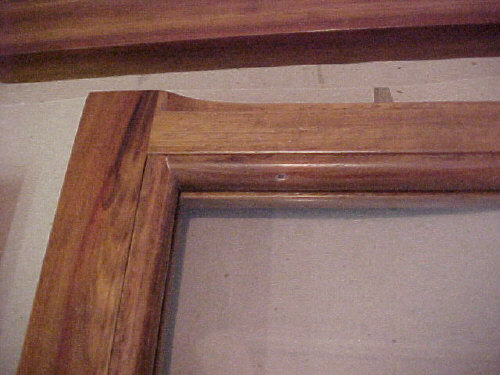
A closeup showing the curved notch in the sides. This notch is where the hinge pin rides.
More detail showing the slots for the glass.
These slender pieces of wood are what will hold the glass in place.

A closeup of a door edge showing the joinery.
Doors with finish on them. Because of the beauty of the wood no stain was used anywhere.
A closeup showing how the wood strips hold in the glass. I coved each corner.
One set of finished doors.
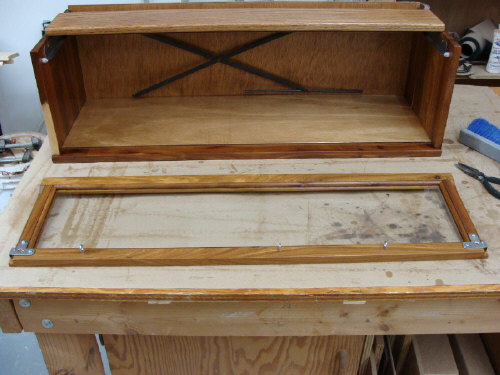
A door about to be assembled to a cabinet. Here you can see the eyescrews, hinges, hinge pins and mechanism.
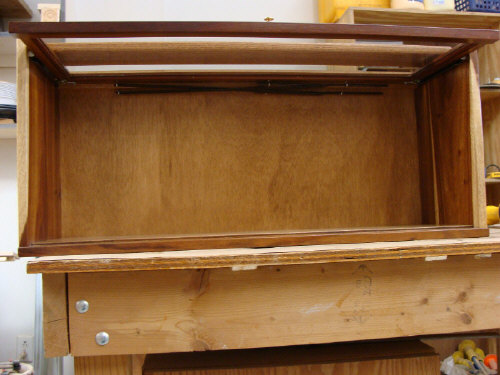
The door is now in place and raised. Note the piece of 1/4" plywood attached to the bottom. It is raised so that when the door is closed it contacts this plywood as a stopper so the door doesn't swing back and forth.
A finished cabinet with the door closed.
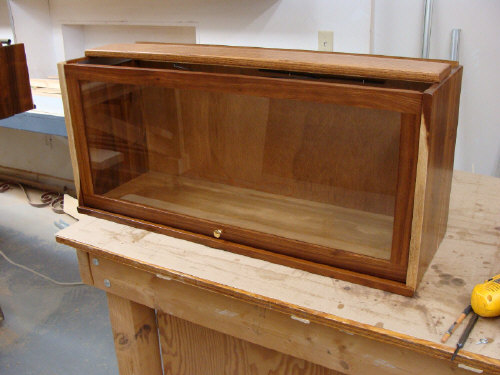
Another view with the door open.
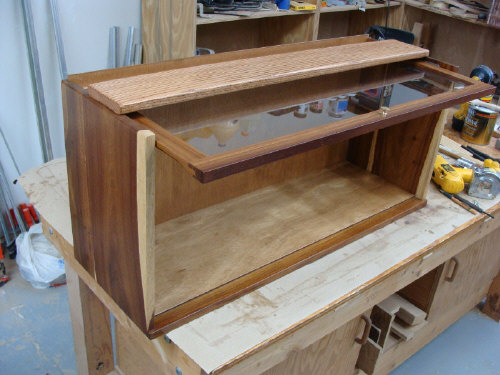
From above, this is what the mechanism looks like with the door closed.

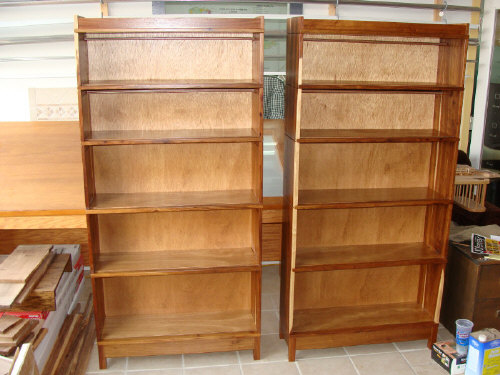
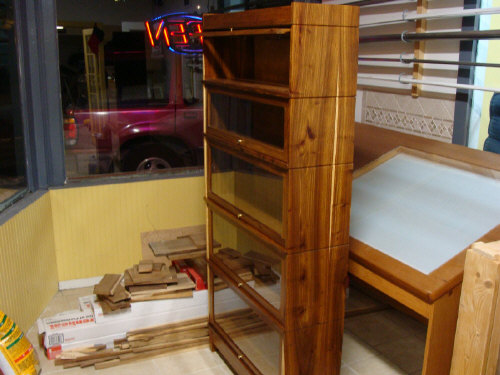
Both finished bookcase sets without doors.
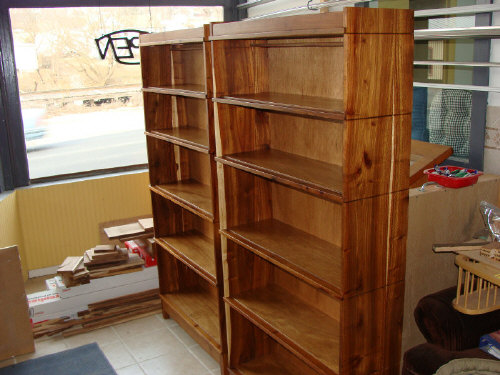
Another view.
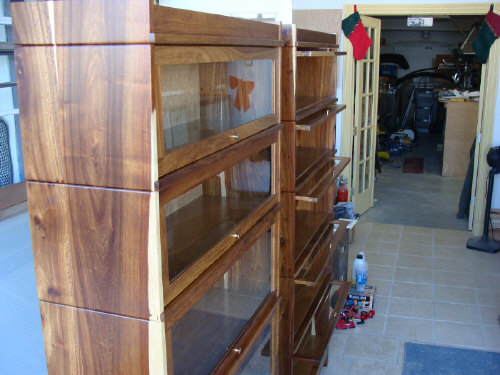
One finished set with doors.
Both sets finally finished!